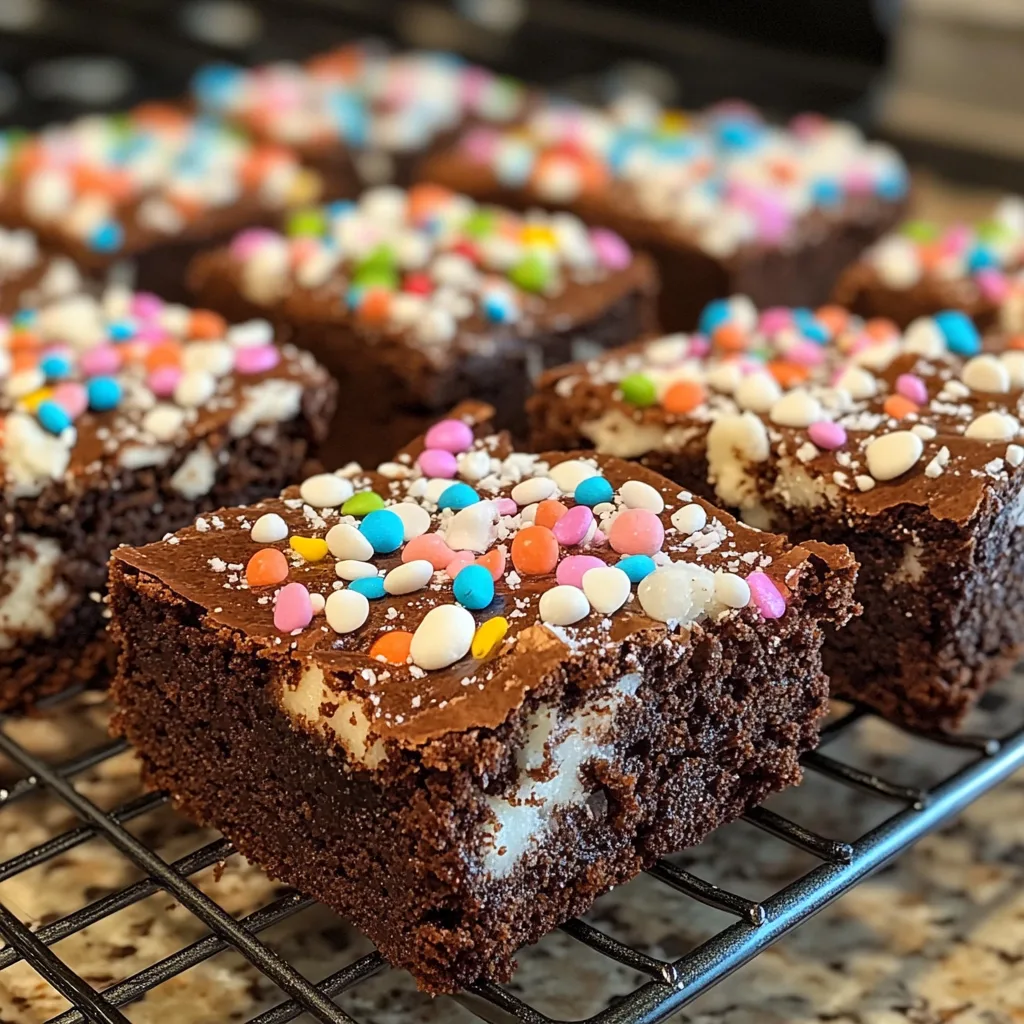
Remember those iconic pink Sno Ball treats from your childhood? Those dome-shaped, coconut-covered marshmallow delights have inspired these decadent homemade Sno Ball Brownies. I’ve transformed the nostalgic snack cake into a sophisticated dessert that combines rich, fudgy brownies with fluffy marshmallow frosting and sweet coconut flakes.
These eye-catching treats feature a perfect balance of textures and flavors—chewy chocolate brownies, pillowy marshmallow topping, and the signature coconut coating that makes them instantly recognizable. They’re sure to be the star of any dessert table and will transport you straight back to your favorite childhood memories.
Why You’ll Love This
- Perfect blend of nostalgia and homemade goodness without artificial ingredients
- Show-stopping pink appearance makes these brownies perfect for parties, showers, and holiday gatherings
- Surprisingly simple to make despite their impressive appearance
- Customizable colors—keep them classic pink or change the food coloring to match any occasion
- Make-ahead friendly for stress-free entertaining
Ingredients
- 1/2 cup (1 stick) butter
- 2 ounces unsweetened chocolate, chopped
- 1 cup sugar
- 2 large eggs
- 1/2 teaspoon vanilla
- 1/4 cup all-purpose flour
- 1/4 teaspoon salt
- 1 (7-ounce) jar marshmallow fluff or creme
- 1 cup sweetened shredded coconut
- 1 tablespoon cornstarch
- 3 to 5 drops pink food coloring
Instructions
- Preheat oven to 325 degrees F. Line an 8×8-inch baking pan with aluminum foil, leaving some overhang for easy removal. Lightly spray the foil with cooking spray.
- Place butter and chopped unsweetened chocolate in a medium saucepan over medium-low heat. Stir constantly until completely melted and smooth. Remove from heat.
- Whisk the sugar into the chocolate mixture until well combined.
- Whisk in the eggs and vanilla extract until the mixture is smooth and glossy.
- Stir in the flour and salt just until combined. Do not overmix.
- Spread the brownie batter evenly in the prepared pan. Bake for about 40 minutes, or until a toothpick inserted in the center comes out with a few moist crumbs.
- While the brownies are still warm, spread the marshmallow fluff/creme evenly over the top. The heat from the brownies will help make the marshmallow easier to spread.
- Place the shredded coconut, cornstarch, and pink food coloring in a food processor. Pulse several times until the coconut is slightly chopped and the pink color is evenly distributed throughout.
- Sprinkle the pink coconut mixture over the marshmallow layer, gently pressing it into the marshmallow creme to adhere.
- Allow the brownies to cool completely before lifting out of the pan using the foil overhang. Cut into 9 squares using a sharp knife, wiping the blade clean between cuts for the neatest result.
Tips & Variations
- For a homemade brownie base, use your favorite fudgy brownie recipe instead of a box mix.
- Change up the color theme for different holidays—green for St. Patrick’s Day, orange for Halloween, or pastel colors for Easter.
- Toast half the coconut for a more complex flavor and visual appeal.
- Add 1/2 teaspoon of coconut extract to the marshmallow frosting for an extra coconut flavor boost.
- For a cleaner cut, chill the brownies thoroughly and use a knife dipped in hot water (and wiped dry) between cuts.
- Make them gluten-free by using a gluten-free brownie mix (just verify your other ingredients are also gluten-free).
Serving Suggestions
Serve these Sno Ball Brownies on a pretty platter with a scoop of vanilla ice cream on the side for an extra special dessert. The contrast between the warm brownie (if slightly reheated) and cold ice cream creates a delightful temperature play.
These brownies also pair wonderfully with a cup of hot coffee or cold milk. For an adults-only gathering, consider serving them alongside glasses of rosé wine or pink champagne to complement their festive color.
Notes
- Store in an airtight container at room temperature for up to 3 days or refrigerate for up to a week.
- The brownies can be frozen (without the coconut topping) for up to 2 months. Add fresh coconut after thawing.
- For best texture, bring refrigerated brownies to room temperature before serving.
FAQs
Can I make these brownies ahead of time?
Yes! You can prepare these up to 2 days in advance and store them in the refrigerator in an airtight container.
How do I prevent the marshmallow layer from getting too sticky?
Make sure to add enough powdered sugar to the marshmallow mixture, and refrigerate the brownies before cutting to help the marshmallow layer set properly.
Can I use unsweetened coconut instead?
Absolutely! If you prefer less sweetness, unsweetened coconut works well. You may want to add a tablespoon of sugar to help it stick to the marshmallow layer.
Why did my marshmallow frosting turn out lumpy?
Make sure your marshmallows are completely melted before adding other ingredients. If lumps form, reheat gently and beat again until smooth.
[recipe_card]