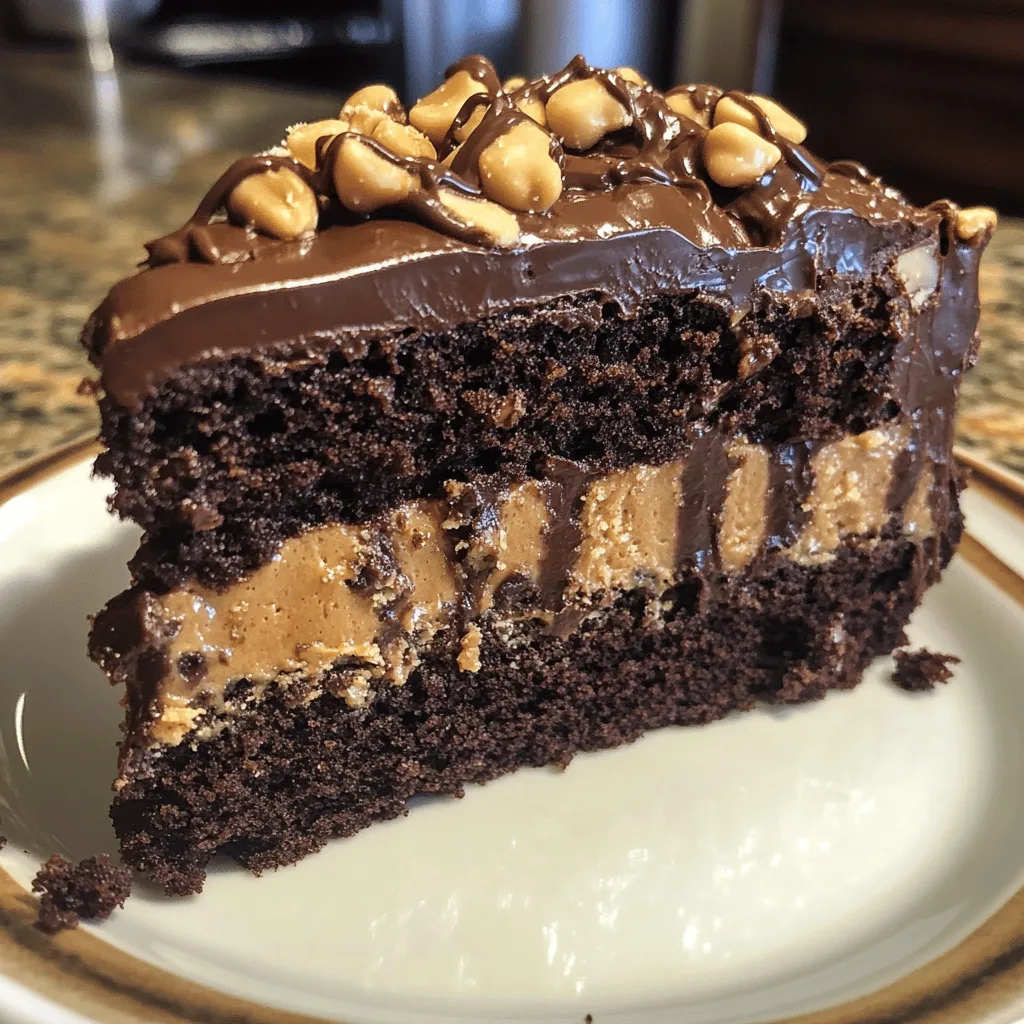
Imagine sinking your fork into layers of moist, rich chocolate cake perfectly complemented by creamy peanut butter frosting. This Rich Chocolate Peanut Butter Cake brings together two of the most beloved flavors in a decadent dessert that’s surprisingly simple to make at home.
Whether you’re celebrating a special occasion or just craving something indulgent, this cake strikes the perfect balance between sophisticated flavor and nostalgic comfort. The contrast between the deep chocolate and nutty peanut butter creates a dessert that’s impossible to resist.
Why You’ll Love This
- Ready in just 45 minutes from start to finish
- Perfect balance of rich chocolate and creamy peanut butter
- No fancy equipment or techniques needed
- Impressive enough for guests but easy enough for weeknight baking
- Stores beautifully for enjoying leftovers the next day
Ingredients
- 2 cups Oreo crumbs
- 1/4 cup unsalted butter, melted
- 32 oz cream cheese, softened
- 1 1/3 cups sugar
- 4 large eggs
- 1 cup smooth peanut butter
- 2 tsp vanilla extract
- 1/3 cup heavy cream
- 1 1/4 cups miniature chocolate chips
- 1/2 cup heavy cream
- 1 1/2 cups milk chocolate chips or 9.5 oz milk chocolate, finely chopped
- Chopped Reese’s cups
- Crushed roasted peanuts
Instructions
- Coat a 9-inch springform pan with cooking spray and line the bottom with parchment paper. Wrap the pan with two layers of aluminum foil, ensuring no water leaks in during the water bath.
- Finely grind whole Oreo cookies (with filling) into crumbs using a food processor. Combine crumbs with melted butter, mix until evenly moistened. Press mixture into the bottom of the springform pan and refrigerate to firm while preparing the filling.
- Preheat oven to 350°F. Beat softened cream cheese and sugar until smooth. Mix in peanut butter, heavy cream, and vanilla extract. Add eggs one at a time, beating lightly after each addition. Stir in chocolate chips. Spread mixture over the chilled crust and smooth the top.
- Place the springform pan in a roasting pan and pour hot water into the roasting pan (about a quarter full). Bake for 55-70 minutes until the edges are set and the center is slightly loose. If the top browns, tent the springform pan with aluminum foil. Remove from water bath and cool on a rack, then refrigerate for at least 5 hours or overnight.
- Bring heavy cream to a boil over medium heat. Place half the milk chocolate chips in a heatproof bowl and pour the hot cream over the chocolate. Stir until melted, then stir in remaining chocolate until smooth. Let cool until thickened but pourable.
- Run a thin knife around the edge of the cheesecake and release the springform pan ring. Transfer cheesecake to a serving plate. Spread ganache over the top, allowing it to drip down the sides. For better control, pour ganache in two layers, reheating slightly if needed. Garnish with chopped Reese’s cups and crushed peanuts. Refrigerate until ready to serve.
Tips & Variations
- For an extra chocolate kick, add ½ cup of chocolate chips to the cake batter
- Try crunchy peanut butter in the frosting for added texture
- Make it gluten-free by substituting a 1:1 gluten-free flour blend
- For a fancier presentation, make this as a layer cake by doubling the recipe and baking in two 8-inch round pans
- Add a teaspoon of espresso powder to the cake batter to enhance the chocolate flavor without adding coffee taste
- For a less sweet version, reduce the sugar in the cake to ¾ cup
Serving Suggestions
Serve this Rich Chocolate Peanut Butter Cake with a scoop of vanilla ice cream for the ultimate dessert experience. The cold creaminess perfectly complements the rich cake and frosting.
For a coffee shop experience at home, pair a slice with a hot cup of coffee or a cold glass of milk. The cake is substantial enough to be served on its own but can also be dressed up with a drizzle of chocolate sauce for special occasions.
Notes
- Store covered at room temperature for up to 3 days
- The cake can be frozen unfrosted for up to 1 month
- The cake is done when it springs back slightly when touched in the center
- Natural peanut butter may separate in the frosting; conventional creamy varieties work best
FAQs
Can I make this cake ahead of time?
Yes! You can bake the cake up to a day ahead and frost it just before serving. The flavors actually develop nicely as it sits.
Can I use a different size pan?
Yes, but baking times will vary. A 9-inch round pan will need about 5 minutes less, while a 9×13 pan will produce a thinner cake that bakes more quickly.
Is this cake suitable for people with nut allergies?
No, this cake contains peanut butter as a main ingredient. For nut-free options, consider a traditional chocolate cake with vanilla frosting instead.
Can I make cupcakes instead of a cake?
Absolutely! This recipe will make about 12 cupcakes. Reduce the baking time to 18-20 minutes and frost when completely cool.
[recipe_card]