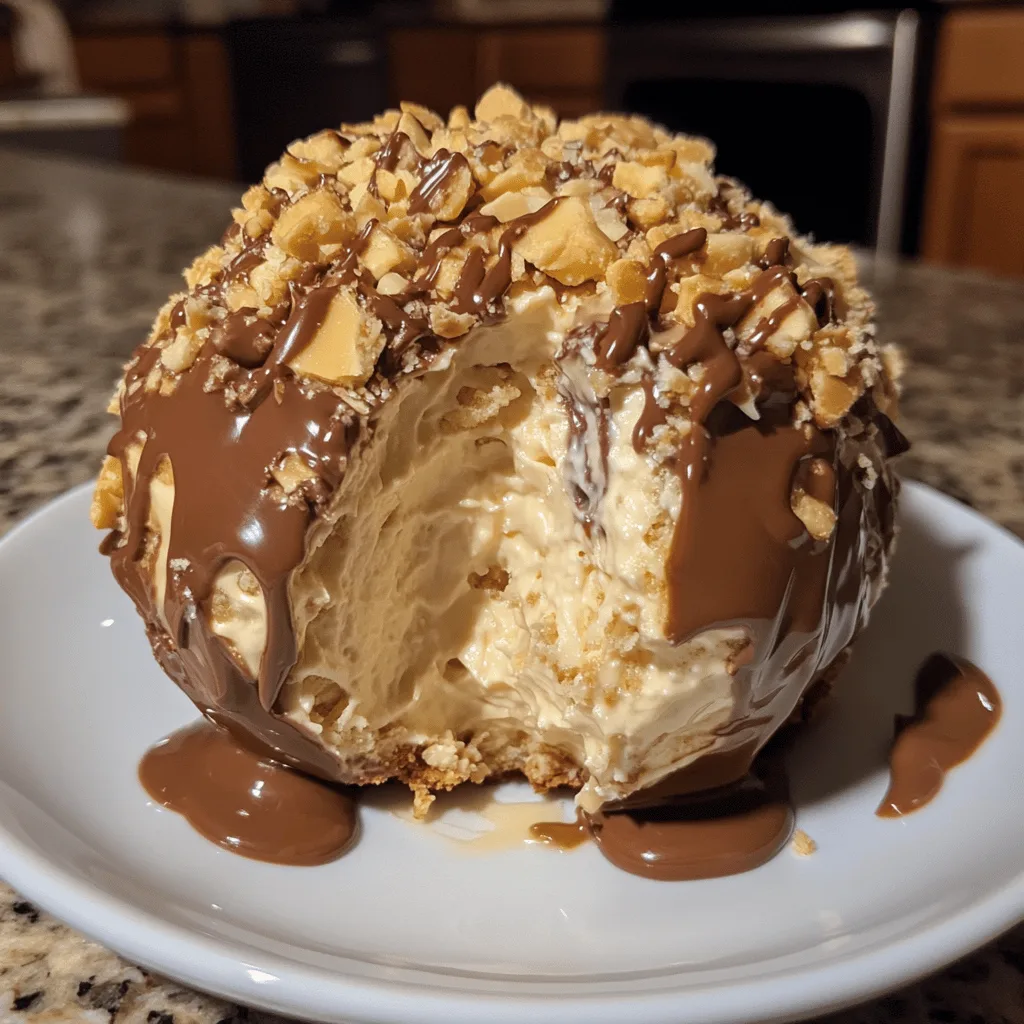
Indulge in the ultimate dessert mashup with this Reese’s Cheese Ball Peanut Butter Bliss! This delectable treat combines the creamy richness of cream cheese with the irresistible flavor of peanut butter cups, creating a showstopping dessert that’s perfect for gatherings or when you’re craving something decadently sweet.
Inspired by savory cheese balls but transformed into a dessert dream, this peanut butter bliss ball brings together all the flavors you love about Reese’s peanut butter cups in a scoopable, shareable form. The outside is coated with crushed peanut butter cups and chocolate chips, while the inside reveals a velvety peanut butter and cream cheese mixture that will have everyone coming back for more.
Why You’ll Love This
- No baking required – just mix, chill, and serve!
- Perfect make-ahead dessert for parties and potlucks
- Customizable with your favorite mix-ins and coatings
- Impressive presentation with minimal effort
- Kids and adults alike go crazy for this peanut butter-chocolate combination
Ingredients
- 8 ounces cream cheese, softened to room temperature
- 1/2 cup creamy peanut butter
- 1/2 cup powdered sugar
- 1/4 cup brown sugar, packed
- 1 teaspoon vanilla extract
- 1 cup mini Reese’s Pieces
- 1/2 cup mini chocolate chips
- 1/2 cup peanut butter cups, roughly chopped (optional but recommended)
- 1/4 cup mini Reese’s Pieces
- 1/4 cup mini chocolate chips
- 1/4 cup peanut butter cups, finely chopped
- Graham crackers
- Pretzels (regular or chocolate-covered)
- Vanilla wafers
- Apple slices
- Strawberries
Instructions
- In a large mixing bowl, combine the softened cream cheese and peanut butter. Using an electric mixer on medium speed, beat them together until well combined and smooth, about 2 minutes. Make sure there are no lumps of cream cheese remaining, as this will ensure a smooth, creamy texture in your final cheese ball.
- Add the powdered sugar, brown sugar, and vanilla extract to the cream cheese mixture. Beat on low speed at first (to prevent sugar clouds) and then increase to medium speed until everything is fully incorporated and the mixture is smooth and fluffy, about 1-2 minutes. Scrape down the sides of the bowl as needed to ensure all ingredients are well mixed.
- Add the mini Reese’s Pieces, mini chocolate chips, and chopped peanut butter cups (if using) to the bowl. Using a rubber spatula, gently fold these candy pieces into the cream cheese mixture until they are evenly distributed throughout. Be careful not to overmix, as you want the candies to stay intact.
- Place a large piece of plastic wrap on your counter or work surface. Scoop the mixture onto the plastic wrap. Using the plastic wrap to help you (so your hands stay clean), shape the mixture into a ball. The mixture will be quite soft at this point, so don’t worry about making a perfect sphere yet.
- Wrap the cheese ball completely in the plastic wrap, making sure it’s well covered. Place in the refrigerator to chill for at least 1 hour, or up to 24 hours. This chilling time is essential as it allows the cheese ball to firm up enough to hold its shape when you roll it in the candy coating.
- While the cheese ball is chilling, prepare the candy coating. In a shallow bowl or plate, mix together the 1/4 cup mini Reese’s Pieces, 1/4 cup mini chocolate chips, and 1/4 cup finely chopped peanut butter cups. Make sure these pieces are small enough to easily stick to the outside of the cheese ball.
- When the cheese ball is firm, remove it from the refrigerator and unwrap it. Immediately roll the cheese ball in the candy coating mixture, gently pressing the candies into the surface to make sure they adhere well. Continue rolling and pressing until the entire surface is covered with candy pieces.
- Place the coated cheese ball on a serving plate. For best results, let it sit at room temperature for about 15-20 minutes before serving to soften slightly for easier spreading. Surround it with graham crackers, pretzels, vanilla wafers, or sliced fruits for dipping. If not serving immediately, you can rewrap the coated cheese ball in fresh plastic wrap and refrigerate for up to 3 days.
Tips & Variations
- For a crunchier texture, add 1/4 cup chopped peanuts to the coating mixture.
- Try using crunchy peanut butter instead of creamy for added texture inside the cheese ball.
- Substitute chocolate graham crackers for regular ones for an even more chocolatey experience.
- If the mixture is too soft to form into a ball, refrigerate it for 30 minutes before shaping.
- For a holiday twist, use red and green M&Ms in the coating during Christmas or orange and black during Halloween.
Serving Suggestions
Serve this indulgent Reese’s Cheese Ball with an assortment of dippers like graham crackers, vanilla wafers, pretzel sticks, or apple slices. The sweet-salty combination with pretzels is particularly divine! For an extra special presentation, surround the cheese ball with additional mini Reese’s cups and a variety of cookies on a serving platter.
Notes
- Store leftovers covered in the refrigerator for up to 5 days.
- The cheese ball can be made up to 3 days in advance; just add the coating right before serving.
- For best flavor, allow the cheese ball to sit at room temperature for 15-20 minutes before serving.
FAQs
Can I freeze this cheese ball? Yes, you can freeze the cheese ball (without the coating) for up to 1 month. Thaw overnight in the refrigerator and add the coating before serving.
Can I use other candy instead of Reese’s cups? Absolutely! Try Butterfinger, Snickers, or any chocolate-peanut butter candy you enjoy.
Is there a lower-sugar version? You can reduce the powdered sugar to 1 cup and use sugar-free chocolate chips, though the texture may be slightly different.
Why is my cheese ball too soft? Make sure your cream cheese is just softened, not melted. If it’s too soft, refrigerate the mixture longer before forming into a ball.
[recipe_card]