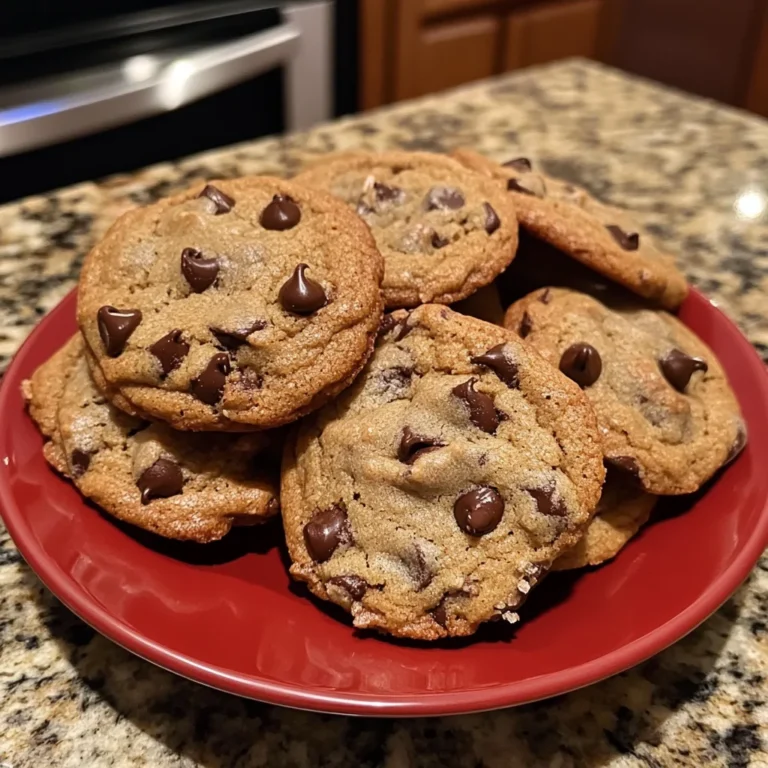
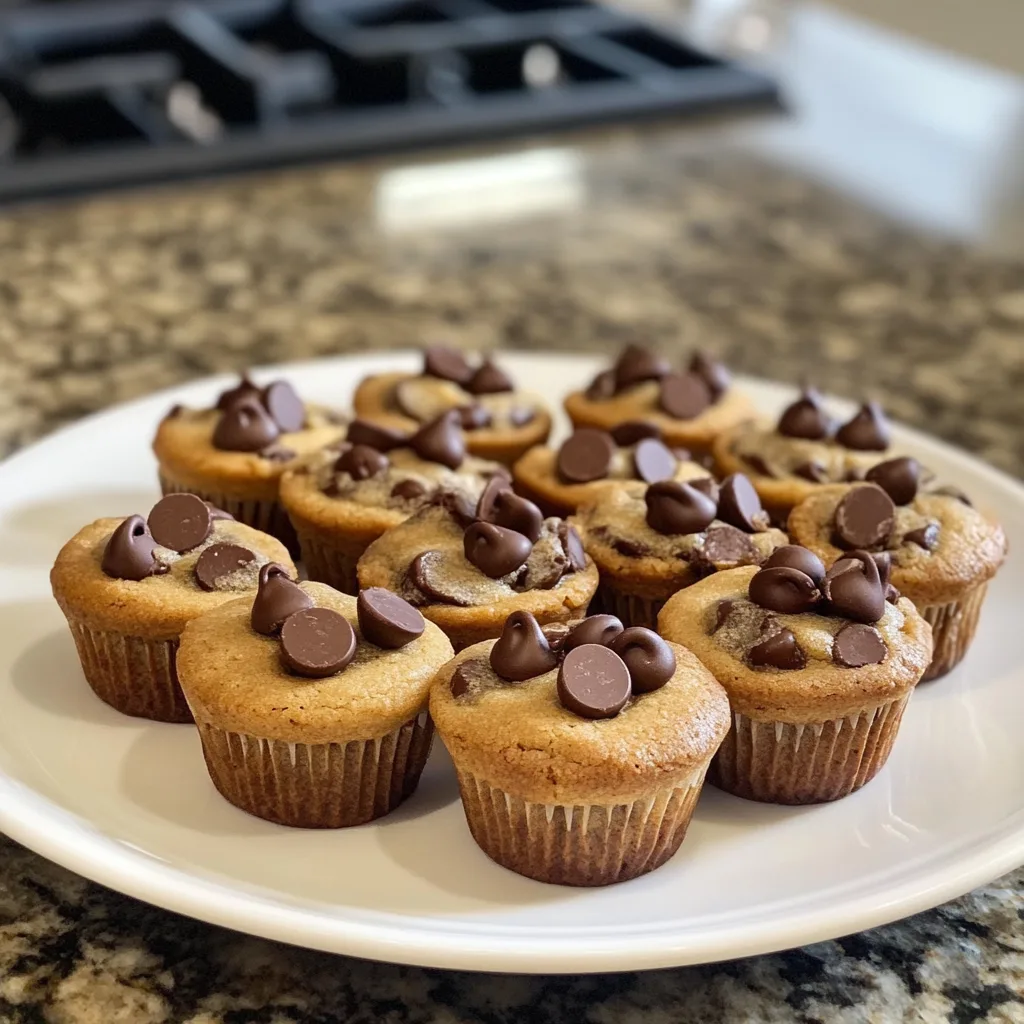
Imagine the irresistible aroma of freshly baked peanut butter cookies wafting through your kitchen, but with a delightful twist. These Peanut Butter Chocolate Chip Cookie Cups transform the classic cookie into adorable, portion-controlled treats that are crispy on the outside and deliciously gooey on the inside.
Perfect for dessert lovers who can’t decide between cookies and mini cakes, these cookie cups combine the best of both worlds. The slight depression in the center creates the perfect pocket for melty chocolate chips to nestle into, creating a decadent bite that will have everyone reaching for seconds.
Why You’ll Love This
- No special equipment needed – just a standard muffin tin you likely already have
- The perfect balance of sweet and salty from the peanut butter and chocolate combination
- Impressive presentation with minimal effort – looks like you spent hours baking
- Make-ahead friendly – prepare the dough in advance and bake when needed
- Portion-controlled treats that satisfy your sweet tooth without overdoing it
Ingredients
- 1¼ cups all-purpose flour
- ½ teaspoon baking soda
- ¼ teaspoon salt
- ½ cup unsalted butter, softened
- ½ cup brown sugar
- ¼ cup granulated sugar
- ½ cup peanut butter (creamy or chunky)
- 1 teaspoon vanilla extract
- 1 large egg
- 1 cup chocolate chips, divided (¾ cup for mixing in, ¼ cup for topping)
- Vanilla ice cream
- Melted chocolate for drizzling
- Caramel sauce for drizzling
Instructions
- Preheat your oven to 350°F (175°C). Grease a 12-cup standard muffin tin or line it with paper liners.
- In a medium bowl, whisk together the all-purpose flour, baking soda, and salt until well combined. Set aside.
- In a large mixing bowl, beat the softened butter, brown sugar, and granulated sugar together using a hand mixer or stand mixer on medium speed until smooth and creamy, about 2-3 minutes.
- Add the peanut butter to the butter-sugar mixture and beat until fully incorporated. Then add the egg and vanilla extract, beating until the mixture is light and fluffy.
- Gradually add the dry ingredients to the wet mixture, stirring on low speed until just combined. Be careful not to overmix, which can make the cookies tough.
- Gently fold in ¾ cup of the chocolate chips using a spatula or wooden spoon, reserving the remaining ¼ cup for topping.
- Using a cookie scoop or spoon, divide the cookie dough evenly among the prepared muffin cups, filling each about ¾ full. Sprinkle the remaining ¼ cup of chocolate chips on top of each cookie cup.
- Place the muffin tin in the preheated oven and bake for 12-15 minutes, or until the edges are golden brown and the centers are still slightly soft.
- Remove from the oven and allow the cookie cups to cool in the muffin tin for about 10 minutes. This cooling period helps them set up properly. Then, carefully transfer them to a wire rack to cool completely.
- Serve warm for a gooey chocolate experience or at room temperature for a more chewy texture. If desired, top with a scoop of vanilla ice cream or drizzle with melted chocolate or caramel sauce for extra indulgence.
Tips & Variations
- Substitute almond or cashew butter for a different nutty flavor profile
- Add ¼ cup of chopped peanuts to the dough for extra crunch and texture
- For a more decadent treat, add a spoonful of Nutella to the center of each cup before baking
- If you prefer a firmer cookie cup, bake for an additional 2-3 minutes
- Try white chocolate chips or peanut butter chips instead of (or in addition to) semi-sweet chocolate
- For special occasions, dust with powdered sugar or drizzle with melted chocolate after cooling
Serving Suggestions
These cookie cups are delicious on their own, but for an extra special dessert, serve them slightly warm with a scoop of vanilla ice cream on top. The contrast between the warm, chewy cookie cup and cold, creamy ice cream creates a delightful temperature and texture experience.
For a fun dessert board, pair these cookie cups with fresh berries, whipped cream, and a variety of other cookies for a sweet treat selection that will impress your guests.
Notes
- Store in an airtight container at room temperature for up to 5 days
- Cookie cups can be frozen for up to 3 months; thaw at room temperature before serving
- The centers will continue to set as they cool, so don’t worry if they seem underdone when first removed from the oven
- For clean removal from the muffin tin, run a butter knife gently around the edges while still warm
FAQs
Can I use natural peanut butter for this recipe?
Yes, but the texture may be slightly different. If using natural peanut butter, make sure it’s well-stirred and not too oily.
Can I make these gluten-free?
Absolutely! Simply substitute the all-purpose flour with a 1:1 gluten-free flour blend.
Why did my cookie cups crack on top?
Some cracking is normal and adds to their rustic charm. For fewer cracks, make sure not to overbake and allow them to cool in the pan for the full 10 minutes.
Can I make mini cookie cups instead?
Yes! Use a mini muffin tin and reduce the baking time to 8-10 minutes. This recipe should yield about 24 mini cookie cups.
[recipe_card]