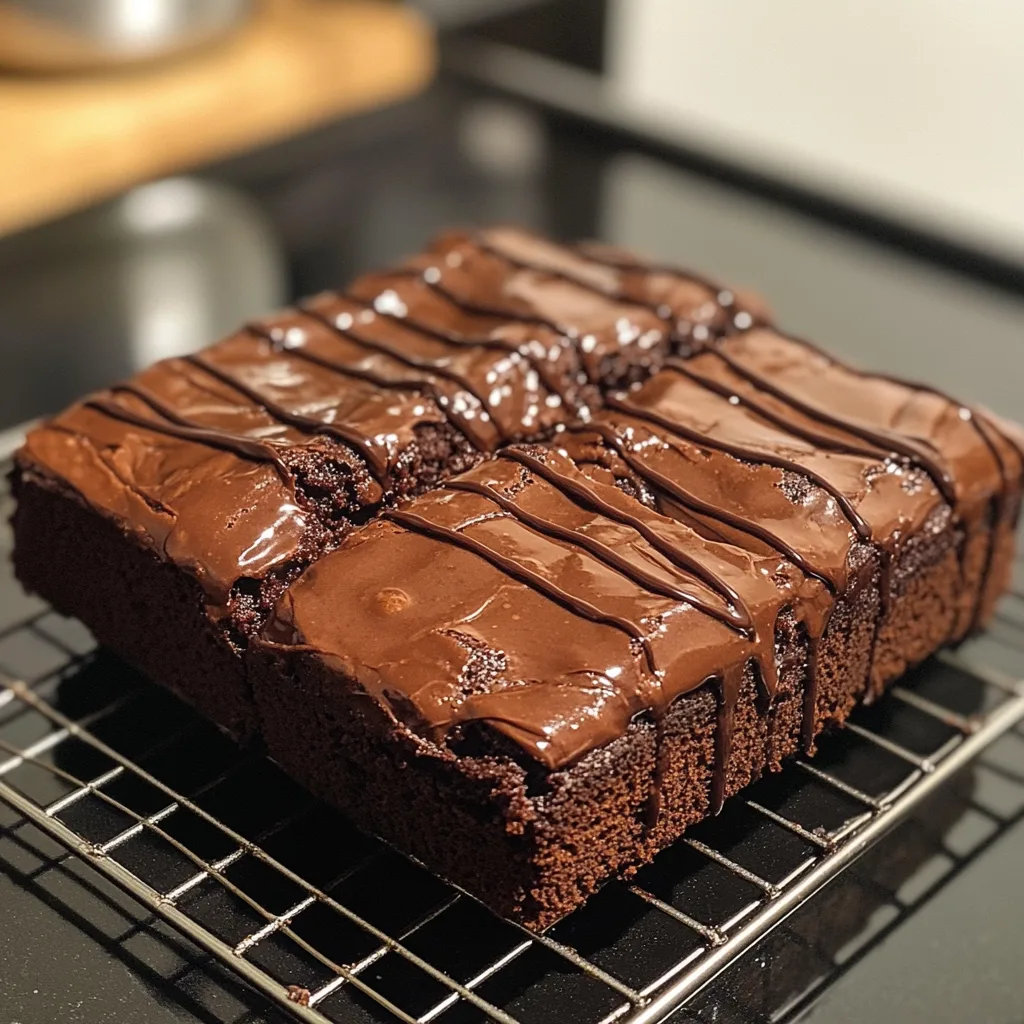
There’s something incredibly nostalgic about a classic chocolate traybake cake. This Old School Chocolate Traybake Cake brings back memories of school canteens, birthday parties, and those special treats your grandmother would make. Simple yet indulgent, this recipe creates a moist, rich chocolate cake that’s topped with a smooth chocolate icing – the kind that cracks slightly when you cut into it.
What makes this traybake so special is its uncomplicated nature. No fancy layers or complicated decorations needed – just honest-to-goodness chocolate cake that’s perfect for sharing, whether for an afternoon tea, a bake sale, or simply because it’s Tuesday and you deserve cake.
Why You’ll Love This
- Quick and easy – one bowl for the cake, one for the icing, minimal cleanup
- No special equipment required – just basic baking tools you already have
- Perfect for beginners – straightforward method with reliable results every time
- Versatile serving options – enjoy warm or cold, plain or with custard
- Freezer-friendly – make ahead and store portions for chocolate emergencies
Ingredients
- 1 cup (2 sticks) unsalted butter, softened to room temperature
- 1¼ cups granulated sugar
- 1 teaspoon pure vanilla extract
- 4 medium eggs, at room temperature
- 1¾ cups self-raising flour
- ¼ cup unsweetened cocoa powder
- 3 tablespoons whole milk
- 1½ cups powdered sugar, sifted
- 1 tablespoon unsweetened cocoa powder
- 2 tablespoons milk
- Chocolate sprinkles for decorating
Instructions
- Start by preheating your oven to 350°F. Take a moment to line your 8×10-inch baking pan with parchment paper, making sure to leave some overhang for easy removal later.
- In a large bowl, beat your softened butter and sugar together until light and fluffy – this usually takes about 3-4 minutes with an electric mixer. Add the vanilla, then gradually beat in the eggs one at a time. Finally, gently fold in the flour, cocoa powder, and milk until you have a smooth, chocolatey batter.
- Spread the batter evenly in your prepared pan. Pop it in the oven for 25-30 minutes, or until a toothpick poked in the center comes out clean. Let it cool in the pan for 10 minutes before transferring to a wire rack.
- Once the cake is completely cool, whisk together the glaze ingredients until smooth. Pour over your cake and spread evenly, then shower with chocolate sprinkles. Let the glaze set before cutting into squares.
Tips & Variations
- Add 100g chocolate chips to the batter for extra indulgence
- Replace vanilla extract with 1 tsp of instant coffee dissolved in the milk for a mocha version
- For a festive touch, sprinkle with colorful sugar strands before the icing sets
- If you don’t have self-raising flour, use plain flour and increase baking powder to 2½ tsp
- For a dairy-free version, substitute butter with a plant-based alternative and use plant milk
- Ensure all ingredients are at room temperature for the best texture and rise
Serving Suggestions
This classic traybake is delicious on its own with a cup of tea or coffee. For a more indulgent dessert, serve slightly warm with a scoop of vanilla ice cream or a generous pour of cold custard. The contrast of temperatures creates a wonderful sensory experience.
For the ultimate school dinner nostalgia, pair with a glass of cold milk or serve with a dollop of lightly whipped cream and some fresh berries for a more sophisticated afternoon treat.
Notes
- Store in an airtight container at room temperature for up to 5 days
- Freeze individual slices, wrapped in parchment and foil, for up to 3 months
- The cake should spring back slightly when touched in the center when done
- Allow the icing to set for 30 minutes before cutting for cleaner slices
FAQs
Can I make this cake in a different sized tin?
Yes, but you’ll need to adjust the baking time. A larger tin will require less time, while a smaller, deeper tin will need longer.
Why did my cake sink in the middle?
This usually happens if the oven door is opened too early in the baking process or if the cake is underbaked. Ensure your oven is properly preheated and avoid opening the door during the first 20 minutes.
Can I make this without an electric mixer?
Absolutely! While a mixer makes the job easier, you can cream the butter and sugar by hand with a wooden spoon and some elbow grease.
Is this recipe suitable for a bake sale?
Perfect for bake sales! It travels well, cuts into neat portions, and has that classic appeal that makes it a reliable seller.
[recipe_card]