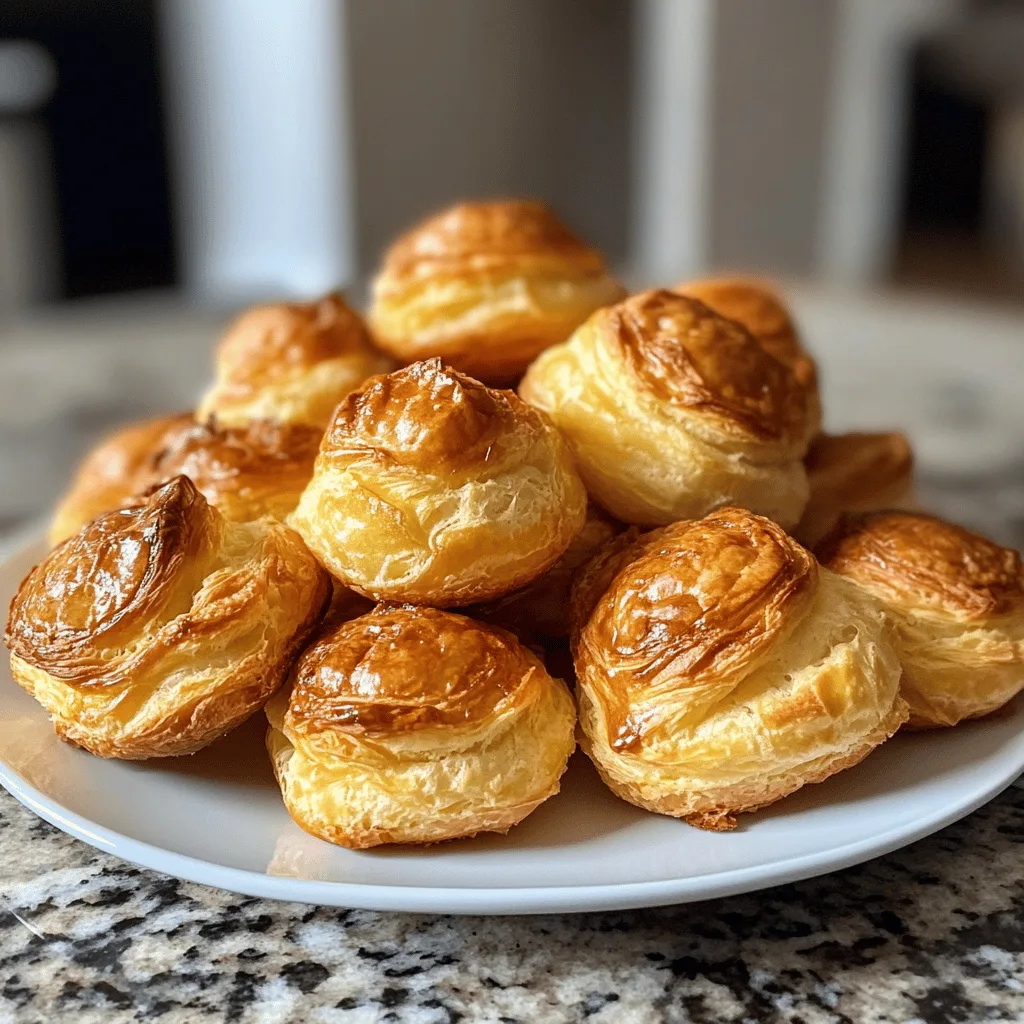
Nun’s Puffs are a delightful throwback to simpler times—light, airy pastries that puff up beautifully in the oven, creating golden domes with custardy centers. These charming little treats have been gracing breakfast tables for generations, offering a perfect balance between a popover and a Yorkshire pudding.
What makes these puffs so special is their versatility—they can be served warm with a pat of butter and jam for breakfast, or alongside a savory meal as an elegant alternative to dinner rolls. Their dramatic rise in the oven never fails to impress, making them a wonderful weekend baking project that delivers restaurant-quality results with minimal effort.
Why You’ll Love This
- Simple ingredients you likely already have in your pantry
- Impressive rise and golden exterior with minimal effort
- Versatile enough for breakfast, brunch, or dinner
- Can be made in a standard muffin tin—no special equipment needed
- Quick to prepare with only about 10 minutes of active time
Ingredients
- 1 stick (1/2 cup) unsalted butter
- 1 cup whole milk
- 3/4 cup all-purpose flour
- 4 large eggs, at room temperature
- 1/2-1 tablespoon granulated sugar, optional for the dough
- 2-3 tablespoons granulated sugar, for sprinkling on top
- Honey, for drizzling
- Whipped cream
- Fresh berries or sliced fruit
Instructions
- Preheat your oven to 375°F (190°C). Thoroughly grease a standard 12-cup muffin pan, making sure to coat both the inside cups and the top rim of each cup. This greasing step is crucial as the puffs will rise and might stick to the edges.
- In a medium saucepan over medium heat, melt the butter completely. Add the milk and bring the mixture to a low boil, watching carefully so it doesn’t boil over. You’ll see small bubbles forming around the edges when it’s ready.
- Once the milk and butter mixture is gently boiling, add all of the flour at once. Immediately begin stirring vigorously with a wooden spoon. Keep the saucepan over low heat and continue stirring until the mixture comes together into a smooth ball that pulls away from the sides of the pan. This should take about 1-2 minutes of constant stirring.
- Remove the saucepan from the heat and let the dough cool for about 5 minutes. This cooling step is important – if the dough is too hot when you add the eggs, they’ll cook instead of incorporating smoothly. The dough should be warm but not hot enough to cook an egg.
- Add the eggs one at a time, mixing vigorously with a wooden spoon after each addition until fully incorporated. Be patient during this step – when you first add each egg, the dough will look separated and broken, but keep stirring and it will come back together into a smooth, glossy paste before you add the next egg. If using, add the optional 1/2-1 tablespoon of sugar with the last egg.
- Divide the dough evenly among the 12 prepared muffin cups. The cups should be about 2/3 to 3/4 full – don’t overfill them as the puffs will rise significantly during baking. Sprinkle each filled cup generously with sugar, which will create a sweet, slightly crisp top as they bake.
- Place the muffin pan in the preheated oven and bake for approximately 30 minutes, or until the puffs are well-risen, puffy, and golden brown. Avoid opening the oven door during the first 20 minutes of baking, as this can cause the puffs to collapse.
- Remove the puffs from the oven and let them cool in the pan for just 2-3 minutes. Then carefully remove them from the pan while still warm. Serve immediately while warm, with a generous drizzle of honey over each puff. For an extra special treat, offer whipped cream and fresh berries alongside.
Tips & Variations
- For savory puffs, omit the sugar and vanilla and add ¼ cup grated Parmesan cheese and a pinch of herbs.
- Make sure eggs are at room temperature for maximum volume in your puffs.
- Don’t open the oven door during the first 20 minutes of baking or your puffs may collapse.
- For extra richness, use half milk and half water for the liquid.
- Leftover puffs can be split, toasted, and filled with ice cream for a quick dessert.
- Mini muffin tins work well for bite-sized puffs—just reduce the baking time to about 20 minutes.
Serving Suggestions
For a sweet breakfast or brunch, serve Nun’s Puffs warm with honey, maple syrup, or your favorite preserves. A dusting of powdered sugar or cinnamon sugar adds a lovely finishing touch. They pair beautifully with fresh berries and a dollop of whipped cream.
As a savory option, these puffs make an excellent accompaniment to soups, stews, or roasted meats. Serve them alongside a Sunday roast or with a bowl of hearty beef stew for sopping up all those delicious juices.
Notes
- Puffs are best enjoyed fresh from the oven but can be stored in an airtight container for up to 2 days.
- To reheat, warm in a 350°F oven for 5 minutes.
- You’ll know the puffs are done when they’re deeply golden and feel hollow when tapped.
- The batter should be thick but glossy—if it’s too stiff, the puffs won’t rise properly.
FAQs
Why did my puffs collapse after baking?
This usually happens when they’re underbaked. Make sure to bake until deeply golden, and avoid opening the oven door during baking.
Can I make the batter ahead of time?
Unfortunately, this batter should be baked immediately after mixing for best results. The eggs provide the leavening, which diminishes if the batter sits too long.
Are Nun’s Puffs the same as popovers?
They’re similar but Nun’s Puffs typically contain sugar and are slightly richer, falling somewhere between a popover and a cream puff in texture.
Can I freeze these?
Yes! Cool completely, then freeze in an airtight container for up to 1 month. Reheat frozen puffs in a 350°F oven for 8-10 minutes until warmed through.
[recipe_card]