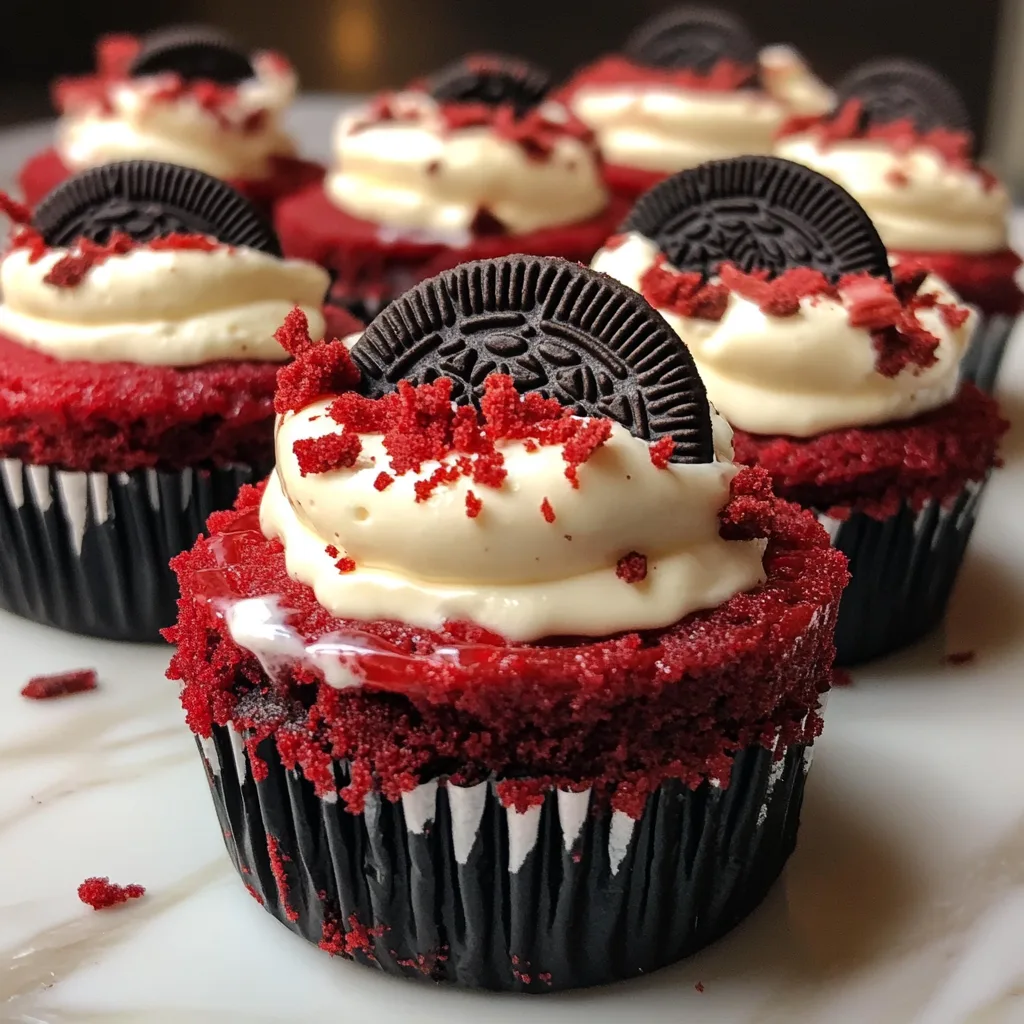
These Mini Red Velvet Oreo Cheesecakes are the perfect blend of decadence and convenience. The rich, velvety texture of classic red velvet cake meets the creamy indulgence of cheesecake, all punctuated with the beloved crunch of Oreo cookies. Each bite-sized treat delivers a perfect balance of sweetness and tanginess that will satisfy even the most discerning dessert lovers.
Whether you’re hosting a dinner party, bringing dessert to a potluck, or simply treating yourself after a long day, these mini cheesecakes are sure to impress. The vibrant red color makes them especially perfect for Valentine’s Day, Christmas, or any celebration where you want to add a touch of elegance to your dessert table.
Why You’ll Love This
- Individual portions mean no slicing or serving hassles—just grab and enjoy!
- The combination of creamy cheesecake, chocolate Oreos, and red velvet creates an irresistible flavor profile.
- Perfect make-ahead dessert that actually tastes better after chilling overnight.
- No water bath required, making these much simpler than traditional cheesecake.
- Customizable with different toppings to suit any occasion or preference.
Ingredients
- 3 tablespoons all-purpose flour
- 1/2 cup cocoa powder
- 1/2 cup granulated sugar
- 1/4 cup unsalted butter, melted
- 1 egg, room temperature
- 1/2 teaspoon vanilla extract
- Pinch of salt
- 12 Oreo cookies
- 8 oz cream cheese, room temperature
- 1 egg, room temperature
- 1/4 cup sour cream, room temperature
- 1/4 cup granulated sugar
- 1 tablespoon cocoa powder
- 1/2 teaspoon vanilla extract
- Red gel food coloring
- 8 oz Cool Whip, thawed
- Chocolate shavings
Instructions
- Preheat your oven to 350°F (175°C). Line a 12-cup standard cupcake tin with paper liners and set aside.
- In a medium bowl, whisk together the flour, cocoa powder, and salt. In a large bowl, whisk together the sugar and egg until pale, about 2 minutes. Add in the melted butter and vanilla extract, then stir in the dry ingredients until well combined.
- Divide the brownie batter evenly among the lined cups of the cupcake tin. Use the back of a spoon to spread the batter into an even layer at the bottom of each cup.
- Bake the brownie crust for 5 minutes at 350°F. Remove from the oven and reduce the oven temperature to 325°F.
- Once the brownie bases have cooled slightly, gently press an Oreo cookie into the center of each cup.
- In a large bowl, beat the cream cheese and sugar until smooth and fluffy. Add the egg, sour cream, and vanilla extract, mixing until combined. Add the cocoa powder and mix until well incorporated. Add red gel food coloring, starting at a low speed, until you achieve the desired red velvet color. Use a rubber spatula to ensure all ingredients are well combined.
- Scoop the red velvet cheesecake mixture over the brownie crust and Oreo cookie in each cup, filling until almost full. Tap the pan a couple of times on the counter to level out the mixture and remove any air bubbles.
- Bake for 15-18 minutes at 325°F, or until the edges of the cheesecakes are set but the centers still have a slight jiggle.
- Allow the cheesecakes to cool completely to room temperature. Then transfer to the refrigerator and chill for at least 1 hour before serving.
- Transfer the thawed Cool Whip to a piping bag fitted with a decorative nozzle. Pipe a swirl of Cool Whip on top of each mini cheesecake and sprinkle with chocolate shavings.
Tips & Variations
- For a more intense red color, use gel food coloring instead of liquid for a richer hue without affecting the texture.
- Try golden Oreos or chocolate graham crackers as alternative crust options for different flavor profiles.
- Add white chocolate chips to the batter for extra sweetness and texture contrast.
- For a holiday twist, top with themed sprinkles or colored sugar before serving.
- Make sure all refrigerated ingredients are at room temperature before mixing for the smoothest cheesecake texture.
- To prevent cracks, avoid overmixing the batter after adding the eggs and don’t overbake.
Serving Suggestions
These mini cheesecakes are delightful on their own, but for an extra-special presentation, serve them on a platter with fresh berries scattered around. The tartness of raspberries or strawberries complements the sweetness of the cheesecake beautifully.
For a dessert bar setup, offer various toppings like chocolate sauce, caramel drizzle, or crushed candy pieces so guests can customize their own mini cheesecake experience. A scoop of vanilla ice cream on the side turns this into an even more indulgent dessert.
Notes
- Store in an airtight container in the refrigerator for up to 5 days.
- These can be frozen for up to 3 months—thaw overnight in the refrigerator before serving.
- The cheesecakes will sink slightly in the center as they cool—this is normal and creates the perfect well for toppings.
- For the best flavor, prepare these a day ahead to allow the flavors to fully develop.
FAQs
Can I make these without food coloring?
Yes! You can omit the red food coloring for a chocolate cheesecake variation, or use natural alternatives like beet powder for a more subtle red hue.
Why did my cheesecakes crack?
Cracks usually occur from overmixing, overbaking, or rapid temperature changes. Mix just until ingredients are combined, and allow cheesecakes to cool gradually.
Can I use low-fat cream cheese?
While possible, full-fat cream cheese provides the best texture and flavor. Low-fat versions may result in a less creamy consistency.
How do I know when they’re done baking?
The edges should be set but the centers should still have a slight jiggle—they’ll continue to set as they cool. If you overbake, they’ll become dry and more prone to cracking.
[recipe_card]


