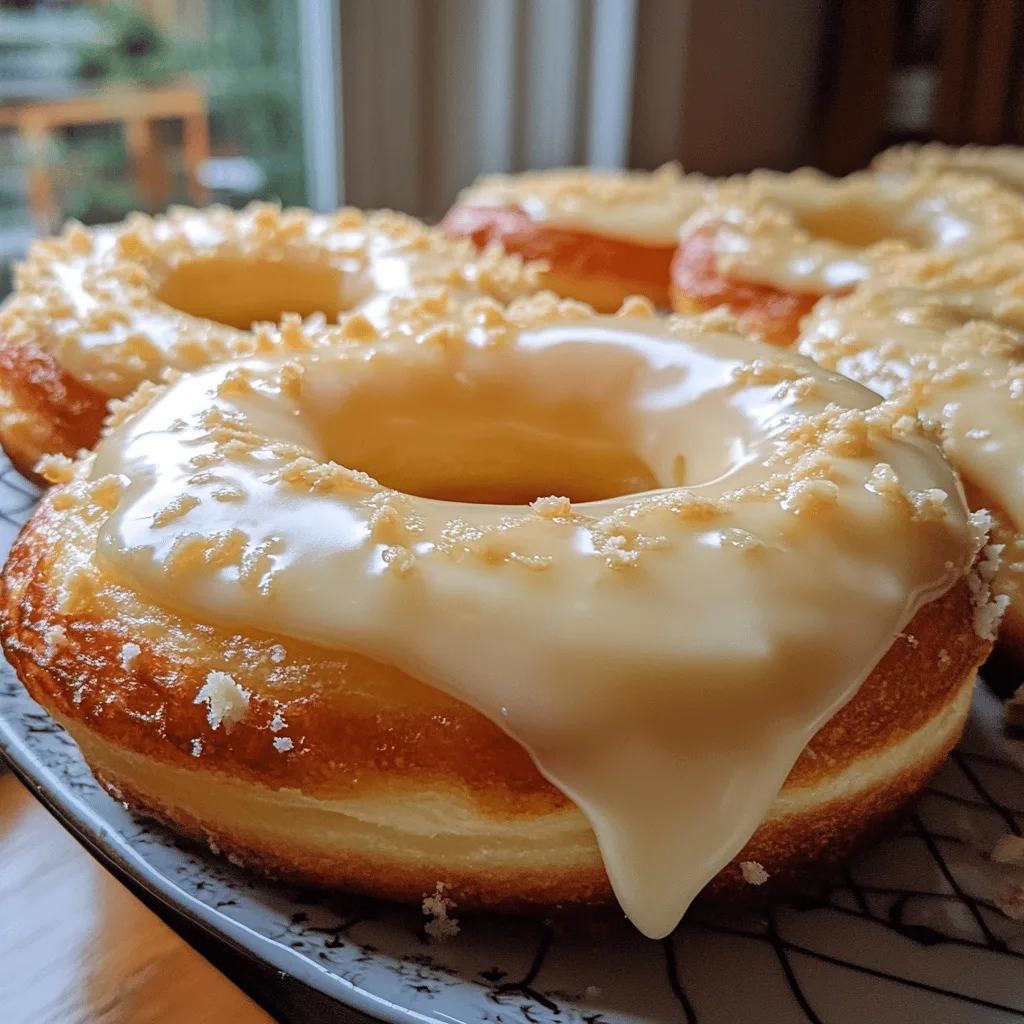
Milky Cheese Donuts are the delightful treat you never knew you needed in your life. These pillowy soft donuts combine the comforting richness of cheese with a subtle sweetness that makes them utterly irresistible. Unlike traditional sugar-coated donuts, these unique creations offer a savory-sweet balance that’s perfect for those who prefer desserts that aren’t overwhelmingly sweet.
Born from the fusion of Asian milk bread techniques and Western donut-making traditions, these cheese-infused treats have gained popularity for their melt-in-your-mouth texture and versatile flavor profile. Whether enjoyed as an afternoon snack with coffee or as a unique dessert option, these Milky Cheese Donuts are sure to become a new favorite in your household.
Why You’ll Love This
- Perfect balance of savory cheese and subtle sweetness in every bite
- Soft, pillowy texture that’s incredibly satisfying to bite into
- No specialized equipment needed – just basic kitchen tools
- Impressive treat that looks complicated but is surprisingly achievable
- Versatile recipe that can be customized with different cheese varieties
Ingredients
- 2 cups all-purpose flour
- 1 cup whole milk, warm (about 110°F)
- 2 tablespoons sugar
- 2¼ teaspoons active dry yeast (1 packet)
- ½ teaspoon salt
- 1 large egg
- 4 tablespoons unsalted butter, melted
- 1 cup shredded mozzarella cheese
- Vegetable or canola oil, for frying
- Powdered sugar, for dusting (optional)
Instructions
- In a small bowl, combine the warm milk (about 110°F – warm but not hot to touch), sugar, and active dry yeast. Stir gently and let the mixture sit for 5-10 minutes until it becomes frothy and bubbly. This indicates that the yeast is active.
- In a large mixing bowl, combine the flour and salt. Make a well in the center and add the yeast mixture, beaten egg, and melted butter. Mix everything together until a sticky dough forms.
- Turn the dough out onto a lightly floured surface. Knead for 5-7 minutes until the dough becomes smooth and elastic. If the dough is too sticky, add a little more flour, a tablespoon at a time.
- Place the dough in a large, lightly greased bowl. Cover with a clean kitchen towel or plastic wrap. Let it rise in a warm, draft-free place for about 1 hour, or until it has doubled in size.
- After the dough has risen, punch it down to release the air. Turn it out onto a lightly floured surface and roll it to about ½ inch thickness. Using a round cutter (about 3 inches in diameter), cut out donut shapes. For traditional donuts with holes, use a smaller cutter to remove the centers. Alternatively, leave them whole for filled donuts.
- Place the cut donuts on a parchment-lined baking sheet, leaving some space between each one. Cover loosely with a towel and let them rest for another 30 minutes to puff up slightly.
- While the donuts are resting, prepare for frying. Fill a deep, heavy-bottomed pot or Dutch oven with about 2-3 inches of oil. Heat the oil to 350°F (175°C). If you don’t have a thermometer, test by dropping a small piece of dough into the oil – it should bubble and rise to the surface.
- Carefully lower 2-3 donuts into the hot oil using a slotted spoon or spider. Do not overcrowd the pot. Fry for 2-3 minutes on each side, or until they are golden brown. Remove the donuts and place them on a plate lined with paper towels to drain excess oil.
- While the donuts are still warm (but cool enough to handle), use a small knife to make a small incision in the side of each donut. Fill a piping bag with the shredded mozzarella cheese and pipe it into the center of each donut. The warm donut will help melt the cheese slightly.
- If desired, dust the filled donuts with powdered sugar for a sweet touch. These donuts are best served warm while the cheese is still gooey and stretchy. Enjoy immediately for the best experience.
Tips & Variations
- For a stronger cheese flavor, try using sharp cheddar or a mix of cheeses like mozzarella and parmesan
- If you prefer a sweeter donut, add a simple glaze made from powdered sugar and milk
- The dough can be prepared the night before and refrigerated – just let it come to room temperature before shaping
- No donut cutter? Use a drinking glass for the outer circle and a bottle cap for the center hole
- For a Korean-inspired twist, add a tablespoon of condensed milk to the dough
- These donuts can be baked at 350°F for 12-15 minutes instead of fried for a lighter version
Serving Suggestions
These Milky Cheese Donuts are best enjoyed warm when the cheese is still slightly gooey and pulls apart beautifully. Serve them alongside a cup of hot coffee or tea for a delightful afternoon treat. For an extra special dessert presentation, drizzle with honey or serve with a small dish of fruit preserves for dipping.
If you’re feeling adventurous, try serving these as part of a unique brunch spread alongside savory dishes like scrambled eggs or bacon – the sweet-savory combination works surprisingly well!
Notes
- Store leftover donuts in an airtight container at room temperature for up to 2 days
- Reheat in the microwave for 10-15 seconds to restore the soft texture and melty cheese
- The oil temperature is crucial – too hot and they’ll brown too quickly without cooking through, too cool and they’ll absorb too much oil
- The donuts are done when they’re golden brown and float to the top of the oil
FAQs
Can I make these without a stand mixer?
Yes! You can mix and knead the dough by hand, though it will take a bit more effort and time (about 12-15 minutes of kneading).
What’s the best cheese to use for these donuts?
Mozzarella provides the best cheese pull, but mild cheddar offers more flavor. For the best results, use a combination of both!
Can I freeze these donuts?
Yes, you can freeze the fried donuts for up to 1 month. Thaw at room temperature and reheat in the microwave for 15-20 seconds before serving.
Why did my donuts deflate after frying?
This usually happens when the oil isn’t hot enough. Make sure to maintain a temperature of 350°F throughout the frying process.
[recipe_card]