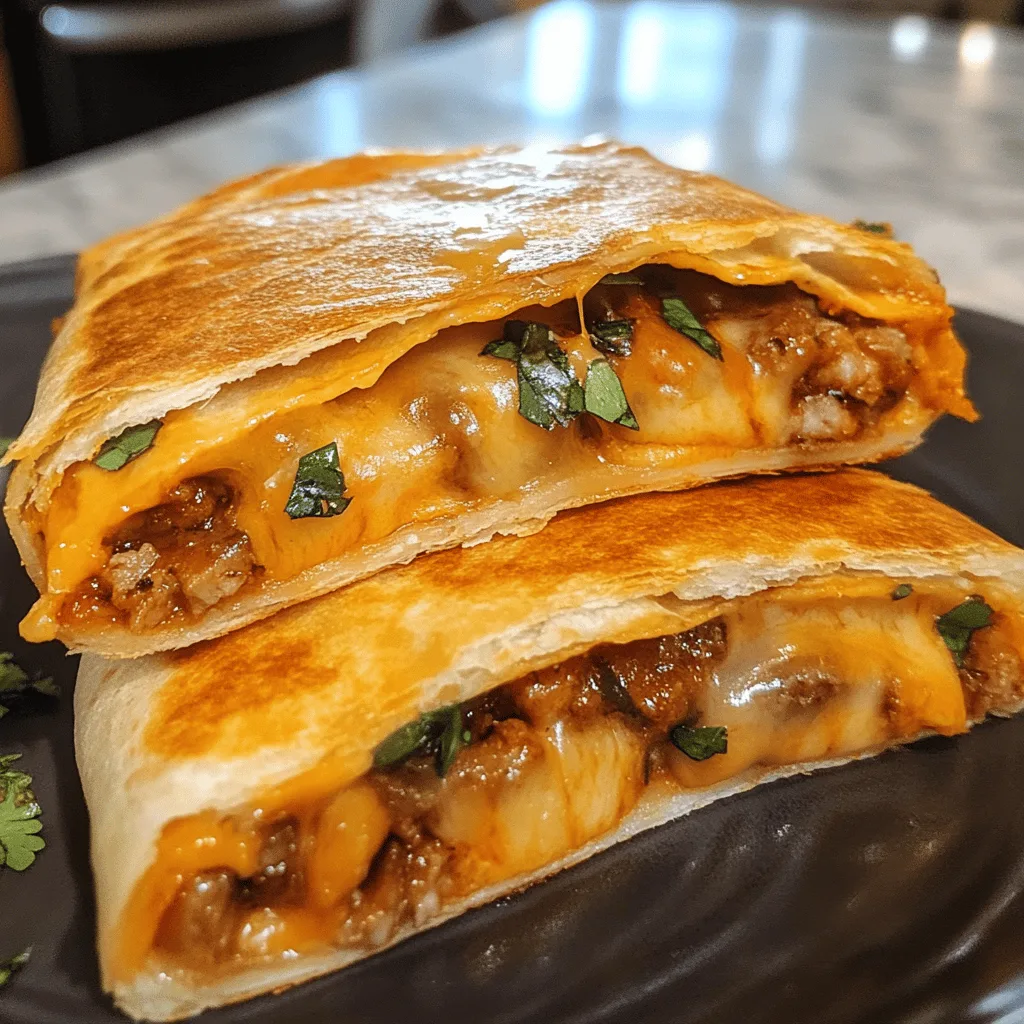
Welcome to taco night reimagined! These Loaded Cheesy Pocket Tacos take everything you love about traditional tacos and transform them into handheld pockets of pure joy. Imagine biting through a crispy, golden exterior to discover a molten center of seasoned meat, melted cheese, and all your favorite taco fixings sealed inside.
I created this recipe after a particularly chaotic taco Tuesday when half my fillings ended up on the table instead of in our mouths. These pocket tacos solve that problem beautifully while delivering an even more satisfying flavor experience that will have everyone at your table asking for seconds.
Why You’ll Love This
- Less mess than traditional tacos – all the fillings stay neatly contained
- Perfect for meal prep – they freeze beautifully for quick weeknight dinners
- Customizable for picky eaters – everyone can choose their own fillings
- Great for on-the-go meals or packed lunches
- The crispy-meets-gooey texture creates an irresistible eating experience
Ingredients
- 1 pound ground beef (80/20 recommended for flavor)
- 1 packet taco seasoning (1-1.25 oz)
- Water as called for on taco seasoning packet (typically 2/3 cup)
- 8 ounces cream cheese, softened to room temperature
- 1/2 cup salsa (mild, medium, or hot based on preference)
- 12 flour tortillas (6-inch size)
- 1 cup shredded cheddar cheese
- 2 tablespoons butter, melted
- Sour cream
- Additional salsa
- Guacamole
- Shredded lettuce
- Diced tomatoes
Instructions
- Preheat your oven to 350°F (175°C). Lightly grease a large baking sheet with cooking spray or line it with parchment paper for easier cleanup.
- In a large skillet over medium-high heat, cook the ground beef, breaking it up with a wooden spoon or spatula as it browns. Cook until no pink remains, about 5-7 minutes. Drain off excess fat from the pan, leaving just a small amount for flavor.
- Add the taco seasoning and the amount of water specified on the packet (typically about 2/3 cup). Stir well to combine. Bring the mixture to a simmer and cook for 3-4 minutes or until most of the liquid has evaporated and you’re left with a moist but not soupy meat mixture. Remove from heat and set aside.
- In a medium bowl, beat the softened cream cheese with a spoon or electric mixer until smooth and creamy. Add the salsa and mix until well combined. This creamy mixture adds moisture and tanginess that perfectly complements the seasoned beef.
- For easier folding, briefly warm the tortillas. You can do this by wrapping a stack of them in slightly damp paper towels and microwaving for 30 seconds, or by heating them individually in a dry skillet for a few seconds on each side.
- Working with one tortilla at a time, spread about 1 tablespoon of the cream cheese mixture across the center of the tortilla. Top with approximately 2 tablespoons of the seasoned beef, spreading it in a line down the center. Sprinkle with about 1 tablespoon of shredded cheddar cheese.
- To form a pocket, fold the bottom edge of the tortilla up over the filling, then fold in both sides. Continue rolling upward to form a sealed pocket. Place seam-side down on the prepared baking sheet. Repeat with the remaining tortillas and filling ingredients.
- Once all pockets are assembled and arranged on the baking sheet, brush the tops and sides lightly with melted butter. This will help them achieve a beautiful golden color and crispy texture during baking.
- Bake in the preheated oven for 15-18 minutes, or until the pocket tacos are golden brown and crispy on the outside. The cheese inside should be fully melted.
- Remove from the oven and let cool for just 2-3 minutes before serving – the filling will be very hot! Serve with optional toppings like additional salsa, sour cream, guacamole, shredded lettuce, or diced tomatoes for dipping or topping.
Tips & Variations
- Substitute ground turkey or chicken for a lighter option
- Make them vegetarian by doubling the beans and adding corn or sautéed mushrooms
- Use a fork to crimp the edges for a more secure seal and decorative finish
- Brush with oil and bake at 400°F for 15 minutes for a healthier alternative to frying
- Add a layer of refried beans before the meat mixture for extra creaminess
- Spice lovers can add diced jalapeños or a dash of hot sauce to the filling
Serving Suggestions
These pocket tacos are hearty enough to stand alone as a meal, but they shine even brighter alongside a fresh side salad with cilantro-lime dressing. For a full fiesta, serve with Mexican rice, corn salad, or a simple bowl of tortilla chips with homemade guacamole.
Create a DIY pocket taco bar by setting out the fried pockets alongside bowls of additional toppings like pickled red onions, sliced radishes, and different salsas ranging from mild to spicy. This is especially fun for casual gatherings or family dinners!
Notes
- Store leftovers in an airtight container in the refrigerator for up to 3 days.
- To freeze, cool completely, wrap individually in foil, and store in a freezer bag for up to 3 months.
- Reheat in a 350°F oven for 10-15 minutes until heated through and crispy again.
- The perfect pocket taco should be golden brown with no filling leakage.
FAQs
Can I make these ahead of time?
Yes! You can prepare the filling and assemble the pocket tacos up to a day in advance. Store them covered in the refrigerator and fry just before serving.
How do I prevent the pockets from opening while frying?
Make sure to press the edges firmly when sealing. You can also use a small amount of water or beaten egg along the edge as “glue” before folding.
Can I use corn tortillas instead of flour?
Corn tortillas are more likely to crack when folded. If you prefer corn, use larger-sized corn tortillas and warm them first to make them more pliable.
What’s the best way to reheat leftovers?
For the crispiest results, reheat in a 350°F oven for 8-10 minutes. Avoid microwaving as this will make them soggy.
[recipe_card]