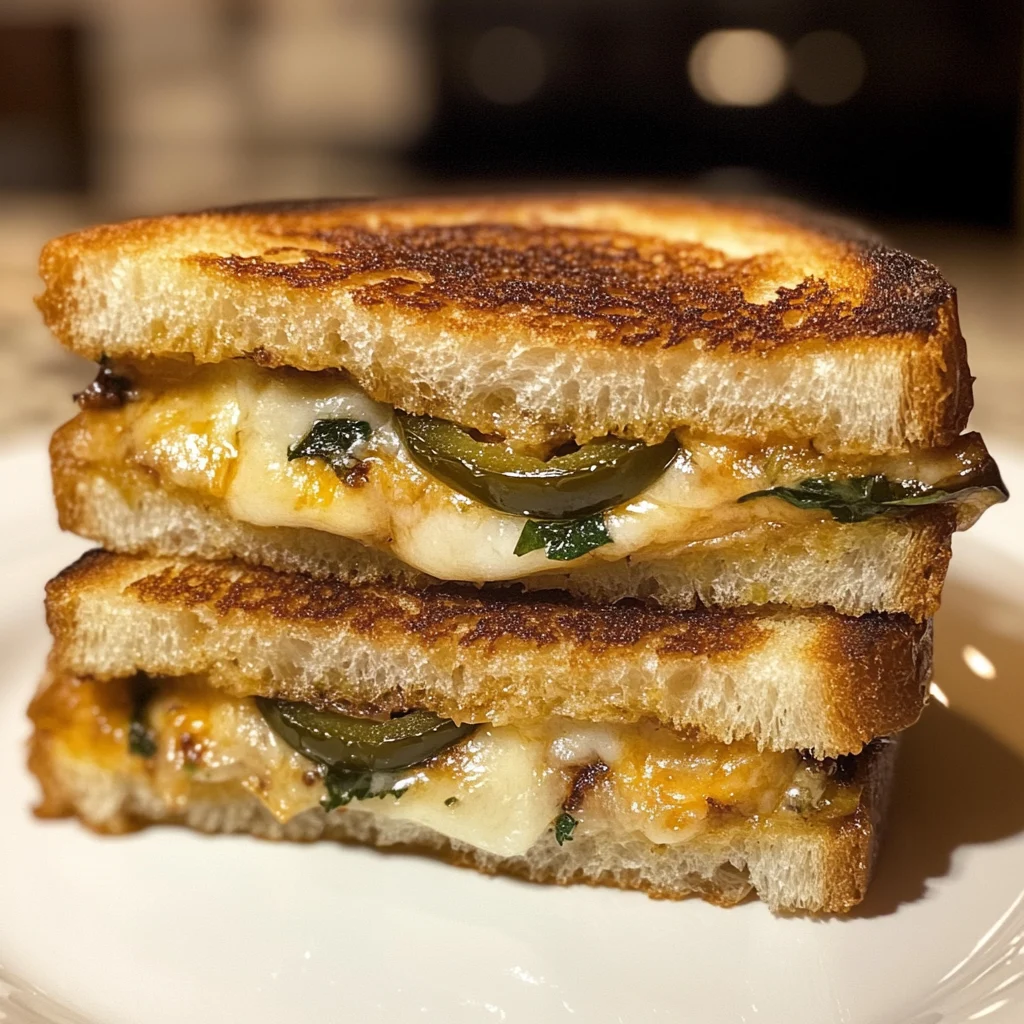
Get ready to elevate your grilled cheese game with this mouthwatering Jalapeño Popper Grilled Cheese! This indulgent sandwich combines two beloved comfort foods into one irresistible package that’s crispy on the outside and gooey, spicy, and creamy on the inside.
Inspired by the classic appetizer we all fight over at parties, this grilled cheese takes those familiar flavors—creamy cheese, spicy jalapeños, and crispy bacon—and transforms them into a satisfying meal that comes together in minutes. It’s the perfect balance of heat, creaminess, and crunch that will have everyone asking for seconds.
Why You’ll Love This
- Perfect balance of spicy and creamy flavors that satisfy both comfort food cravings
- Quick enough for weeknight dinners but special enough for weekend indulgence
- Customizable heat level—keep the seeds for extra spice or remove them for a milder sandwich
- Uses simple ingredients you likely already have in your refrigerator
- Kid-friendly if you adjust the spice level (or make some with and some without jalapeños)
Ingredients
- 6 strips bacon
- 6 tbsp garlic and herb cream cheese, softened
- 2 oz sharp cheddar cheese, freshly grated
- 2 oz Monterey Jack cheese, freshly grated
- 2-4 tbsp pickled jalapeños, finely chopped
- ½ tsp cumin (optional)
- 4 slices sourdough bread
- 1-2 tbsp butter
- 2 tbsp freshly grated Parmesan cheese (optional)
Instructions
- Place the bacon strips in a single layer in a nonstick skillet over medium heat. Cook until perfectly crispy, flipping as needed, about 6-8 minutes. Transfer to a paper towel-lined plate to drain and cool.
- In a small bowl, mix together the softened cream cheese, grated cheddar, Monterey Jack, chopped jalapeños, and cumin if using. Once the bacon has cooled enough to handle, chop it into small pieces and fold it into the cheese mixture. This is what makes it taste like jalapeño poppers!
- Butter one side of each bread slice and place them butter-side down on a plate. Generously spread the jalapeño popper filling on two slices, then top with the remaining slices to make 2 sandwiches, with the buttered sides facing out.
- Carefully drain the bacon fat from your skillet and wipe it clean with a dry paper towel. Heat the skillet over medium heat – you want it hot but not smoking.
- If using Parmesan, sprinkle it on top of the sandwiches, then place them in the hot skillet Parmesan-side down. Sprinkle more Parmesan on the tops. Cook uncovered until golden brown and crispy, about 3-4 minutes per side.
- Carefully flip the sandwiches and cook until the second side is golden brown and the cheese inside is completely melted. The Parmesan creates an extra crispy, flavorful crust.
- Remove from heat and let cool for just a minute or two – you don't want to burn your tongue on that molten cheese! Use a serrated knife to slice and serve immediately while the cheese is still stretchy and delicious.
Tips & Variations
- For a milder sandwich, remove all seeds and membranes from the jalapeños, or substitute with mild green chiles.
- Add a thin layer of ranch dressing to enhance the creamy flavor profile.
- Try pepper jack cheese instead of monterey jack for extra heat.
- Make it vegetarian by omitting the bacon or substituting with smoky tempeh bacon.
- For a crispier exterior, sprinkle a little shredded parmesan on the buttered sides of the bread before grilling.
- Prep the filling mixture up to 2 days ahead and store in the refrigerator for quick assembly.
Serving Suggestions
These decadent grilled cheese sandwiches pair perfectly with a simple tomato soup for dipping. The acidity of the soup cuts through the richness of the sandwich, creating a balanced meal that’s both comforting and satisfying.
For a lighter option, serve alongside a crisp green salad dressed with a tangy vinaigrette. The fresh vegetables provide a nice contrast to the rich, melty sandwich.
Notes
- The sandwiches are done when golden brown on the outside and the cheese is completely melted inside.
- Cook on medium-low heat to ensure the cheese melts properly without burning the bread.
- Leftover sandwiches can be stored in the refrigerator for up to 2 days and reheated in a skillet or toaster oven.
FAQs
Can I make these ahead of time?
You can prepare the cream cheese mixture up to 2 days ahead, but it’s best to assemble and grill the sandwiches just before serving.
How do I adjust the spice level?
Control the heat by removing seeds and membranes (milder) or leaving them in (spicier). You can also adjust the amount of jalapeños used.
What’s the best bread to use?
Sourdough works wonderfully for its flavor and sturdiness, but any thick-sliced bread like brioche, Texas toast, or artisan white bread will work well.
Can I use pre-shredded cheese?
While convenient, pre-shredded cheese contains anti-caking agents that can prevent proper melting. Freshly shredded cheese will give you the best gooey results.
[recipe_card]