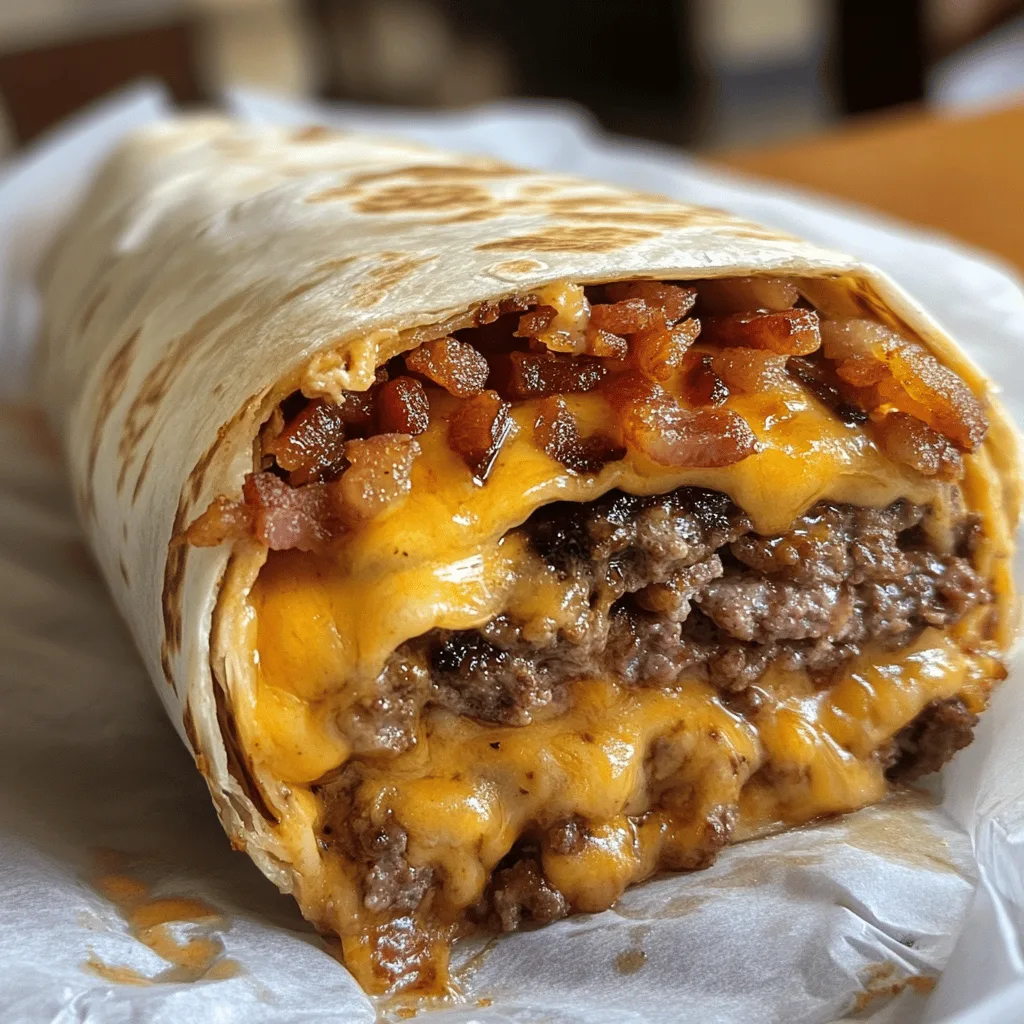
Get ready to experience the ultimate comfort food mashup with this Huge Bacon Cheeseburger Burrito! This indulgent creation combines everything you love about a juicy bacon cheeseburger with the convenient, handheld format of a burrito. It’s the perfect solution for those nights when you can’t decide between Mexican food or a classic American burger.
Each bite delivers the savory goodness of seasoned ground beef, crispy bacon, melted cheese, and all your favorite burger toppings, all wrapped in a warm flour tortilla. This recipe has become a weekend staple in my house, with everyone clamoring for seconds every time it appears on the dinner table.
Why You’ll Love This
- It’s a fun twist on two beloved classics that will excite even picky eaters
- The entire meal is contained in one hand-held package—no plates required!
- Customize with your favorite burger toppings to make it your own
- Leftovers reheat beautifully for lunch the next day
- Perfect for game day gatherings or casual family dinners
Ingredients
- 1 pound ground beef (80/20 recommended for flavor)
- 6 slices bacon, cooked until crispy and crumbled
- Salt and freshly ground black pepper, to taste
- 1 cup shredded cheddar cheese
- 1/2 cup diced onions (red or white)
- 1/2 cup diced fresh tomatoes
- 1/2 cup shredded lettuce (iceberg or romaine)
- 1/4 cup sliced dill pickles
- 1/4 cup ketchup
- 1/4 cup yellow mustard
- 1/4 cup mayonnaise
- 4 large flour tortillas (10-12 inch size)
- Cooking spray or additional oil for crisping
Instructions
- In a large skillet, cook the bacon over medium heat until crispy, about 5-7 minutes. Remove to a paper towel-lined plate to drain. Once cooled, crumble into bite-sized pieces and set aside. Save a tablespoon of the bacon grease in the pan for cooking the beef for extra flavor, if desired.
- In the same skillet (with or without the reserved bacon grease), add the ground beef and cook over medium heat. Break it up with a wooden spoon or spatula as it cooks until it’s browned and no longer pink, about 7-10 minutes. Season with salt and pepper to taste. Drain any excess grease from the pan and set the cooked beef aside.
- While the meat is cooking, prepare your fresh ingredients. Shred the lettuce, dice the onions and tomatoes, slice the pickles, and shred the cheese if not pre-shredded. Arrange all toppings in small bowls to create an assembly line for easy burrito building.
- Place the flour tortillas in the microwave between two slightly damp paper towels and heat for about 20-30 seconds until warm and pliable. This makes them easier to fold without tearing. Alternatively, you can warm them one at a time in a dry skillet for about 15 seconds per side.
- Lay a warmed tortilla flat on a clean work surface. Spread about 1 tablespoon of mayonnaise in a strip down the center of the tortilla, leaving about 2 inches clear on each end. Add about 1/4 of the cooked ground beef (roughly 1/2 cup) on top of the mayonnaise.
- Layer on about 1/4 of the crumbled bacon, then sprinkle with 1/4 cup of shredded cheddar cheese. Add approximately 2 tablespoons each of the diced onions, diced tomatoes, and shredded lettuce. Add a few pickle slices, then drizzle with about 1 tablespoon each of ketchup and mustard. Try to keep the fillings centered in a strip along the tortilla.
- To wrap the burrito, fold in both sides of the tortilla over the fillings. Then, holding the sides in place, fold up the bottom edge and tightly roll the tortilla away from you, enclosing all the fillings. The key is to keep it tight without tearing the tortilla. Repeat this process with the remaining tortillas and fillings.
- Heat a clean skillet over medium heat and lightly coat with cooking spray or a small amount of oil. Place the wrapped burritos seam-side down in the skillet and cook until golden brown and crispy, about 2-3 minutes. Carefully flip and cook for another 2-3 minutes on the other side until evenly crisped all over.
- Remove the burritos from the skillet and let them rest for 1-2 minutes. This allows the cheese to set slightly so it doesn’t all run out when you cut them. Slice each burrito in half on a diagonal and serve immediately while hot and crispy. For an extra touch, serve with additional ketchup, mustard, or mayonnaise on the side for dipping.
Tips & Variations
- For a spicy kick, add sliced jalapeños or a dash of hot sauce to the beef mixture
- Substitute ground turkey or plant-based meat alternative for a lighter version
- Try different cheese varieties like pepper jack or American for different flavor profiles
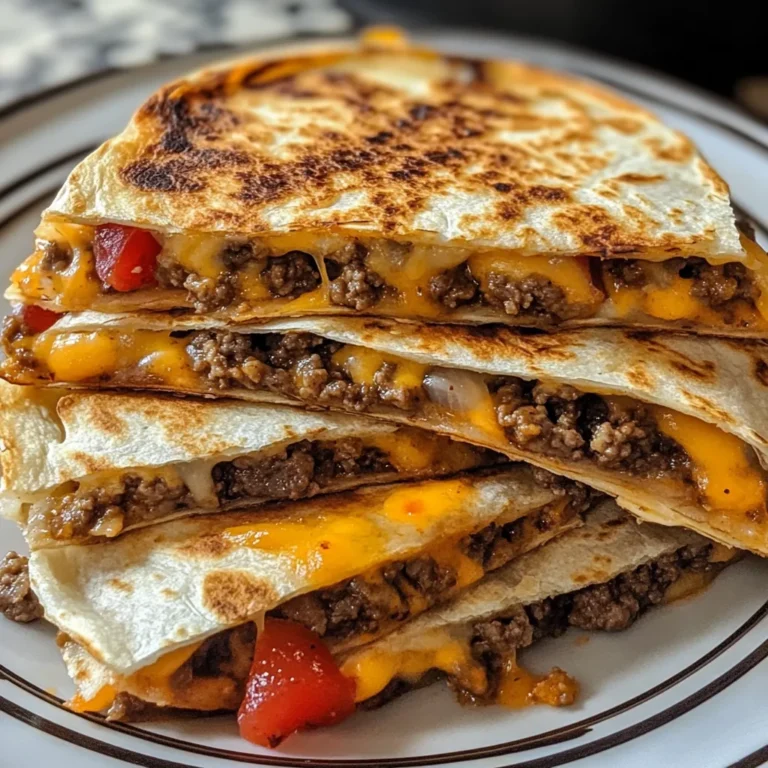
- Make mini versions using 8-inch tortillas for appetizers or kids’ meals
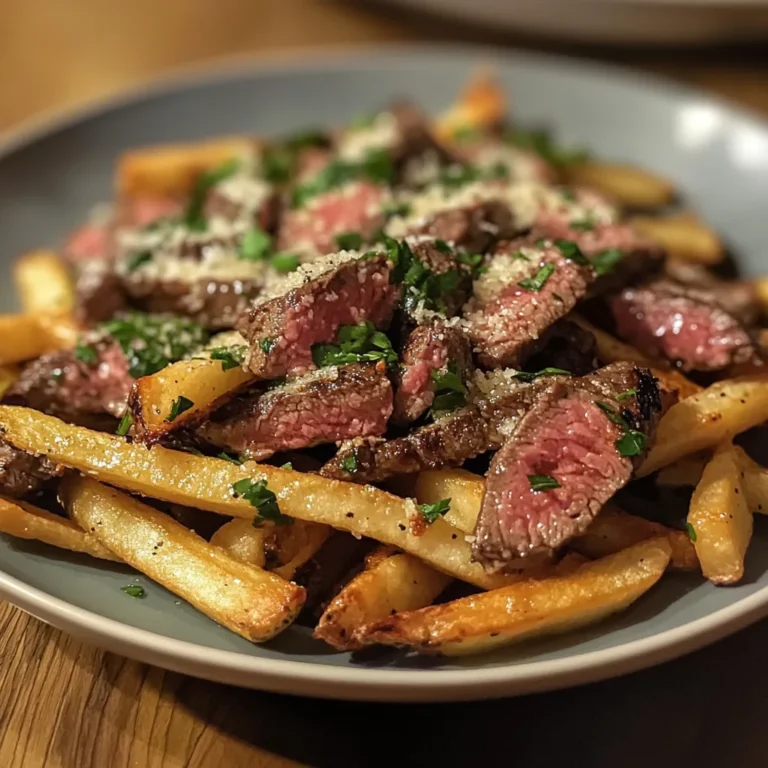
- For extra decadence, add a few french fries inside each burrito
- Prepare the beef mixture ahead of time and refrigerate for up to 2 days for quick assembly
Serving Suggestions
These hearty burritos are a meal in themselves, but they pair wonderfully with crispy potato wedges or a simple side salad to balance the richness. For a fun presentation, serve with small bowls of extra special sauce, salsa, or guacamole for dipping.
If you’re hosting a gathering, consider setting up a build-your-own burrito bar with all the fixings so everyone can customize their creation to their liking. This interactive approach is always a hit at parties!
Notes
- Store any leftover burritos wrapped in foil in the refrigerator for up to 3 days
- To reheat, remove foil and microwave for 1-2 minutes or warm in a 350°F oven for 10 minutes
- For meal prep, wrap assembled burritos individually in foil before the final cooking step
- The burritos are done when the tortilla is golden brown and crispy and the cheese is fully melted
FAQs
Can I freeze these burritos?
Yes! Wrap each assembled (but not yet pan-fried) burrito tightly in foil, then place in a freezer bag for up to 3 months. Thaw overnight in the refrigerator before pan-frying.
How do I prevent my burrito from falling apart?
Make sure not to overfill the tortilla, and fold in the sides firmly before rolling. The final pan-frying step also helps seal the burrito closed.
Can I make these gluten-free?
Absolutely! Simply substitute gluten-free tortillas and check that your Worcestershire sauce and burger seasoning are gluten-free.
What’s the best way to cook the bacon?
For even cooking and easy cleanup, arrange bacon strips on a parchment-lined baking sheet and bake at 400°F for 15-20 minutes until crispy.
[recipe_card]