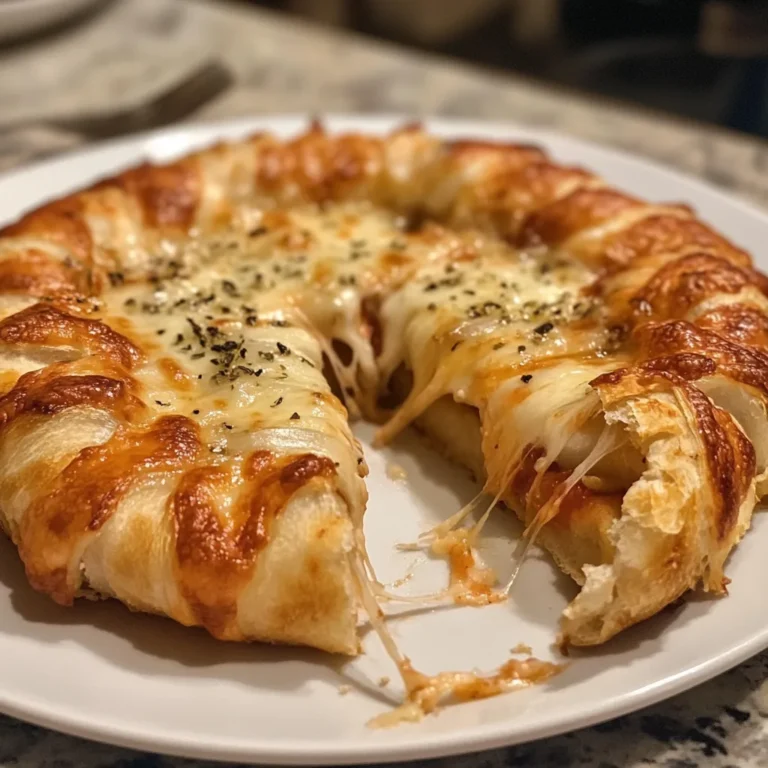
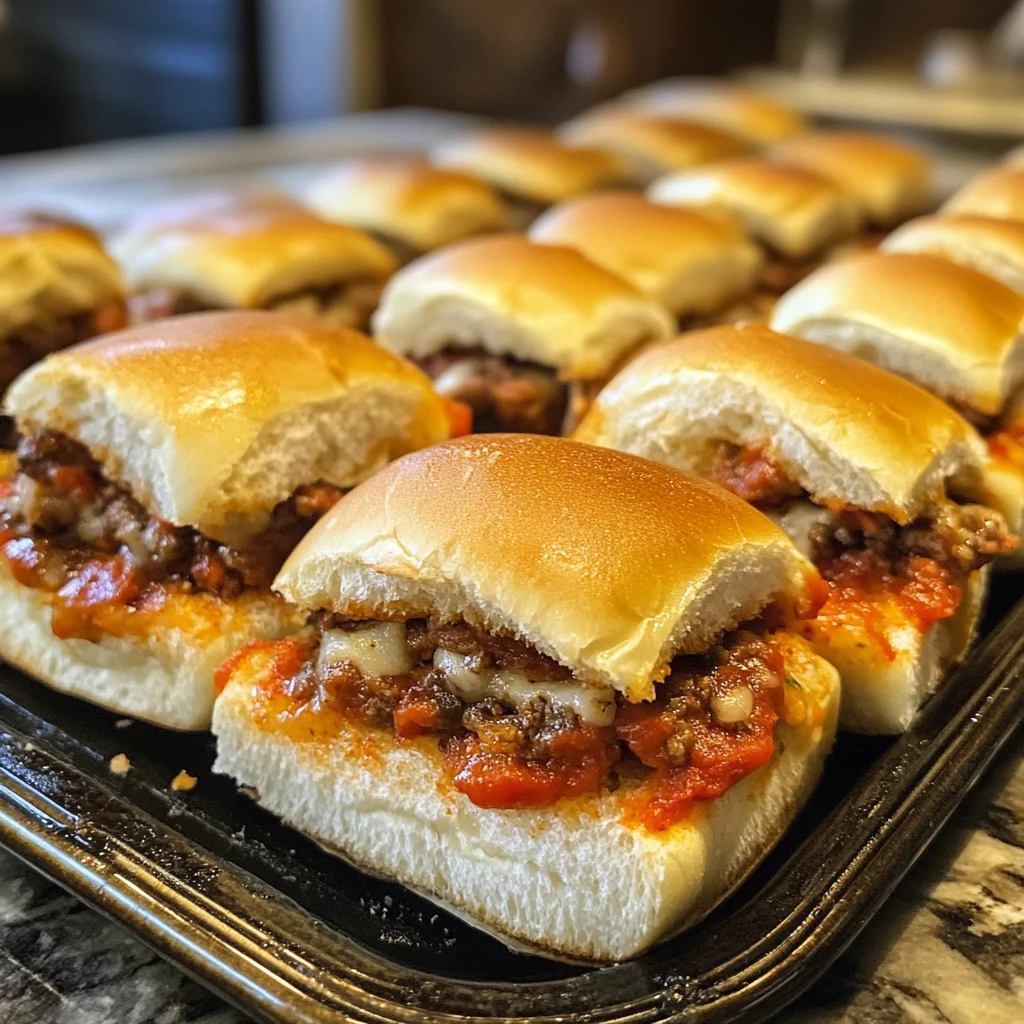
Hot Italian Sliders are the ultimate crowd-pleasing sandwich that brings together all the bold flavors of an Italian deli in one irresistible bite. Layers of savory meats, melty cheese, and zesty seasonings come together between soft slider buns for a dish that’s perfect for game day, casual gatherings, or a fun weeknight dinner.
What makes these sliders special is the magic that happens in the oven – the tops get beautifully golden and buttery while the cheese melts into gooey perfection, creating that mouthwatering pull-apart moment everyone loves. They’re impressive enough for guests but simple enough for a satisfying family meal.
Why You’ll Love This
- Quick assembly – just layer, season, and bake!
- Perfect make-ahead option for entertaining
- Customizable with your favorite Italian meats and cheeses
- Kid-friendly but sophisticated enough for adults
- Leftovers reheat beautifully for lunch the next day
Ingredients
- 12 slider buns (Hawaiian rolls work great)
- 3 tbsp mayonnaise
- 2 tbsp creamy Italian dressing
- 12 slices deli ham
- 12 large slices pepperoni (from deli)
- 12 slices salami
- 6 slices provolone cheese
- ½ cup roasted red peppers, sliced
- ½ cup pepperoncini, sliced
- ¼ cup butter, melted
- 2 tsp Italian seasoning
Instructions
- Preheat your oven to 350°F. These loaded Italian sliders are about to become your new favorite party food!
- In a small bowl, mix together the mayonnaise and Italian dressing until smooth. This creamy mixture adds amazing flavor and helps keep everything moist.
- Slice your slider buns in half horizontally. Place the bottom halves on a baking sheet or in a baking dish, and set the tops aside for now.
- Spread the mayo and Italian dressing mixture evenly over the bottom buns. Don't skip this step – it's what makes these sliders extra delicious!
- Start building your Italian masterpiece! Layer each bottom bun with a slice of ham, followed by the pepperoni, then the salami. The combination of these three meats is what makes these sliders so special.
- Top each stack with half a slice of provolone cheese (or a full slice if you want extra cheesy). Add some roasted red peppers and pepperoncini on top of the cheese for that authentic Italian flavor.
- Place the top buns over the fillings. In a small bowl, mix the melted butter with Italian seasoning, then brush this mixture generously over the tops of all the sliders.
- Cover the entire pan with aluminum foil and bake for 18-20 minutes until the cheese is melted and the sliders are heated through. Remove the foil, brush with more butter if you like, and serve hot!
Tips & Variations
- Vegetarian option: Skip the meats and load up with roasted red peppers, artichoke hearts, and extra cheese.
- Spice it up: Add a layer of spicy giardiniera or a drizzle of hot honey before baking.
- Make ahead: Assemble up to 24 hours in advance, refrigerate, and bake just before serving.
- For a lighter version, use turkey or chicken deli meats instead of traditional Italian meats.
- Add a spread of pesto or sun-dried tomato spread on the inside of the buns for extra flavor.
Serving Suggestions
These Hot Italian Sliders pair perfectly with a simple green salad dressed with Italian vinaigrette to balance the richness. For a heartier spread, serve alongside a bowl of minestrone soup or some crispy baked zucchini fries.
For entertaining, arrange the sliders on a platter with small bowls of marinara sauce for dipping and some marinated olives on the side for an Italian-inspired feast.
Notes
- Store leftovers in an airtight container in the refrigerator for up to 3 days.
- For the best texture, reheat in a 300°F oven for 10 minutes rather than using a microwave.
- Look for the cheese to be fully melted and the tops golden brown as signs they’re done.
- Hawaiian rolls work exceptionally well for this recipe, offering a hint of sweetness.
FAQs
- Can I freeze these sliders? Yes! Assemble them completely (except for the butter topping), wrap tightly, and freeze for up to 1 month. Thaw overnight in the refrigerator, add the butter topping, and bake as directed.
- What’s the best way to slice the connected buns? Use a long serrated knife and keep it parallel to your cutting board for an even cut through all the buns at once.
- Can I make these in advance for a party? Absolutely! Prepare everything up to 24 hours ahead, cover and refrigerate, then bake just before serving.
- How do I prevent the bottoms from getting soggy? If making ahead, place a layer of cheese directly on the bottom bun before adding meats to create a moisture barrier.
[recipe_card]