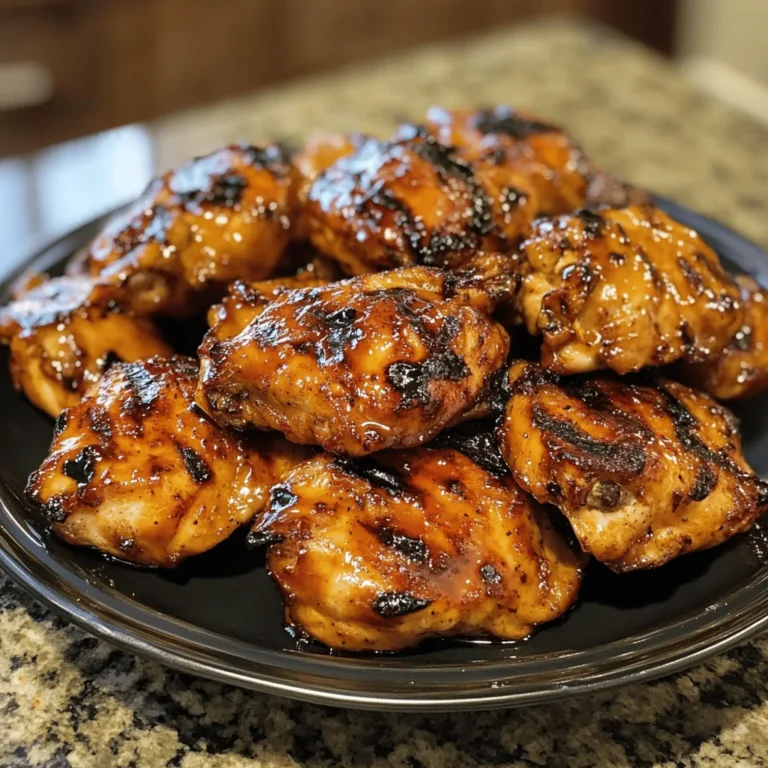
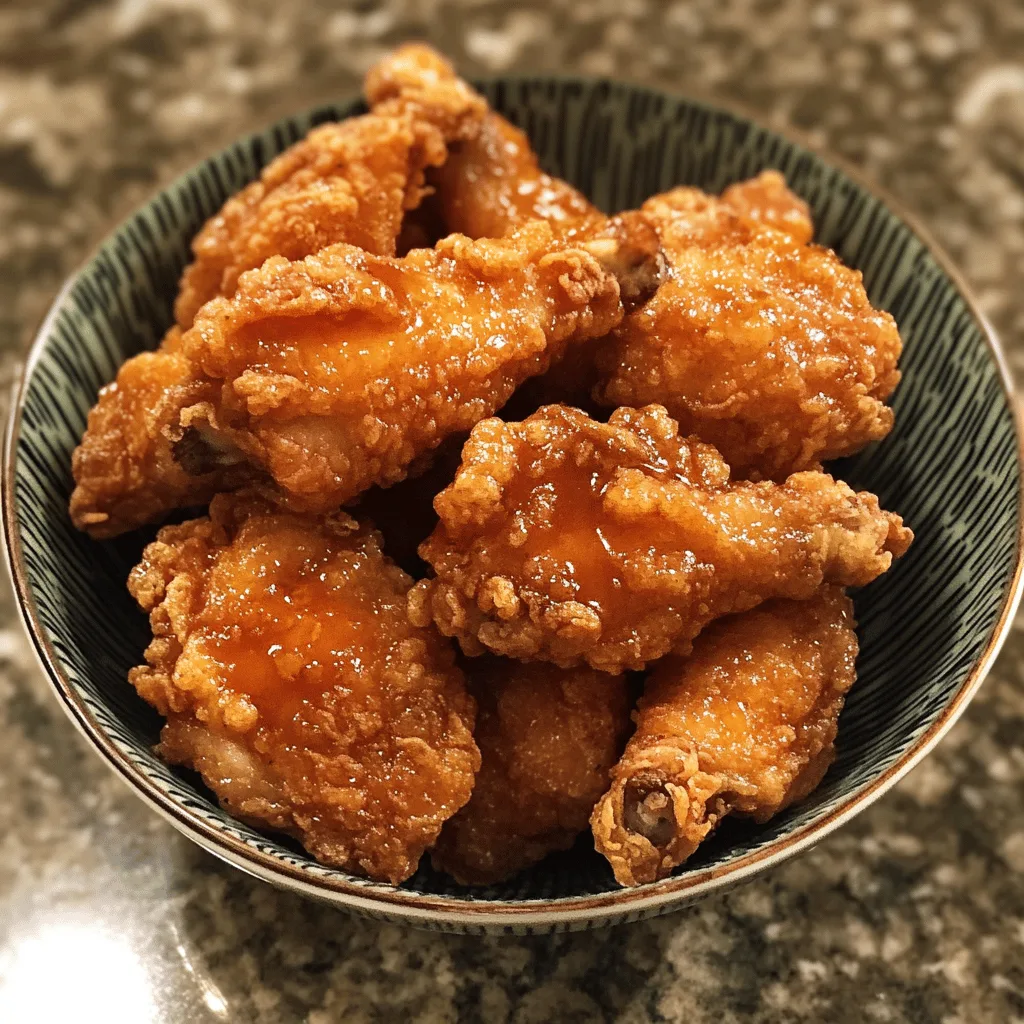
There’s something magical about the combination of crispy fried chicken and sweet, melty honey butter. This Honey Butter Fried Chicken delivers the perfect balance of savory and sweet in every bite, creating an irresistible dish that will have everyone asking for seconds.
Inspired by Korean-style fried chicken but with a homey twist, this recipe transforms ordinary chicken into something extraordinary. The outside is perfectly crisp while the inside remains juicy, and the honey butter sauce adds a glossy, flavorful finish that elevates this comfort food classic to new heights.
Why You’ll Love This
- Double-dredging technique creates an extra-crispy coating that stays crunchy even after adding the sauce
- The honey butter sauce strikes the perfect balance between sweet and savory
- Makes impressive leftovers that reheat beautifully
- Can be prepared in stages if you’re short on time
- Versatile recipe that works with different chicken pieces to please everyone
Ingredients
- 1 pound chicken tenders (about 8-10 pieces)
- 1 teaspoon kosher salt
- ½ teaspoon white pepper
- ½ teaspoon black pepper
- ½ teaspoon garlic powder
- ½ teaspoon onion powder
- ½ teaspoon ginger powder
- ¼ teaspoon cayenne pepper (adjust to your spice preference)
- 2 cups all-purpose flour
- 1 tablespoon kosher salt
- 1 tablespoon white pepper
- 1 teaspoon black pepper
- 1 teaspoon garlic powder
- 1 teaspoon onion powder
- ½ cup all-purpose flour
- 1 large egg
- 1 cup ice-cold sparkling water (soda water works great)
- 4 tablespoons unsalted butter
- 2 tablespoons honey (local if possible for best flavor)
- 2 tablespoons granulated sugar
- 2 tablespoons soy sauce
- 1 cup all-purpose flour (for initial dusting)
- Neutral oil for frying (vegetable, canola, or peanut oil)
Instructions
- In a medium bowl, toss the chicken tenders with kosher salt, white pepper, black pepper, garlic powder, onion powder, ginger powder, and cayenne pepper. Mix thoroughly with your hands to ensure each tender is well coated. Let them marinate for at least 30 minutes in the refrigerator, or up to overnight for maximum flavor.
- Set up your dredging stations in a row: First, a bowl with 1 cup of plain all-purpose flour. Second, make your wet batter by whisking together ½ cup flour, the egg, and ice-cold sparkling water until smooth. Third, in a large bowl, combine the 2 cups of flour with kosher salt, white pepper, black pepper, garlic powder, and onion powder for your seasoned flour mixture.
- Add 1 tablespoon of the sparkling water to your seasoned flour mixture. Use your fingers to rub the water into the flour, creating small clumps. These little clumps will stick to the chicken and create extra crispy, craggy bits when fried – the secret to incredible fried chicken texture!
- Take a chicken tender and first dust it in the plain flour, shaking off any excess. Next, dip it into the wet batter, making sure it’s fully coated, and allow any excess batter to drip off. Finally, place it in the seasoned flour and press firmly, really packing on the flour mixture until completely coated. Set aside on a tray and repeat with all tenders.
- Let the coated chicken tenders rest on the tray for about 10 minutes while you heat your oil. This resting period helps the coating adhere better to the chicken during frying.
- Fill a heavy-bottomed pot or Dutch oven with about 2 inches of neutral oil and heat to 350°F (use a thermometer for accuracy). Working in small batches to avoid overcrowding, gently lower 3-4 tenders into the hot oil. Fry for 4-5 minutes until lightly golden, turning occasionally. Remove and place on a wire rack set over a baking sheet.
- Once all tenders have had their first fry, bring the oil back to 350°F. Re-fry each tender for an additional 1-2 minutes until they reach a deeper golden color and become extra crispy. Transfer back to the wire rack and immediately sprinkle with a little salt while hot.
- In a saucepan over medium heat, melt the butter. Once melted, add the honey, sugar, and soy sauce. Stir continuously until the sugar has completely dissolved and the sauce begins to bubble slightly. Cook for another 1-2 minutes until the sauce thickens enough to coat the back of a spoon.
- You can either brush the honey butter sauce over the fried chicken tenders or toss them directly in the sauce. If tossing, do it quickly to maintain as much crispiness as possible. For best results, serve immediately while still warm and ultra-crispy.
Tips & Variations
- For spicier chicken, add 1 teaspoon of gochujang or sriracha to the honey butter sauce
- Boneless chicken thighs or tenders work great for a more kid-friendly version
- The chicken can be fried up to 2 hours ahead and kept warm in a 200°F oven, then sauced just before serving
- For extra crunch, add 1/4 cup of cornstarch to the flour mixture
- Make it gluten-free by substituting the all-purpose flour with rice flour or a gluten-free flour blend
- For a lighter version, you can air fry the chicken at 400°F for 20-25 minutes, flipping halfway through
Serving Suggestions
This Honey Butter Fried Chicken pairs beautifully with simple sides that complement its rich flavor. Serve with creamy coleslaw or a crisp green salad to balance the sweetness and provide a refreshing contrast. For a more substantial meal, add some fluffy mashed potatoes or buttered corn on the cob.
Don’t forget a stack of napkins – this finger-licking chicken is gloriously messy in the best possible way!
Notes
- Store leftover chicken in an airtight container in the refrigerator for up to 3 days
- Reheat in a 350°F oven for 10-15 minutes to restore crispiness
- The oil temperature is crucial – too hot and the outside will burn before the inside cooks; too cool and the chicken will absorb too much oil
- Let the chicken rest for 5 minutes after frying before applying the sauce for maximum crispiness
FAQs
Can I use chicken breast instead of thighs and drumsticks?
Yes, but reduce the cooking time to about 10 minutes as breast meat cooks faster and can dry out more easily.
How do I know when the oil is at the right temperature without a thermometer?
Drop a small piece of bread into the oil – if it browns in about 60 seconds, the oil is ready for frying.
Can I make the honey butter sauce ahead of time?
Yes, you can prepare it up to 3 days ahead and store it in the refrigerator. Gently reheat before using.
What’s the best way to dispose of used frying oil?
Let the oil cool completely, then pour into a container with a lid (like an empty milk carton) and dispose with regular trash, or check if your local recycling center accepts cooking oil.
[recipe_card]