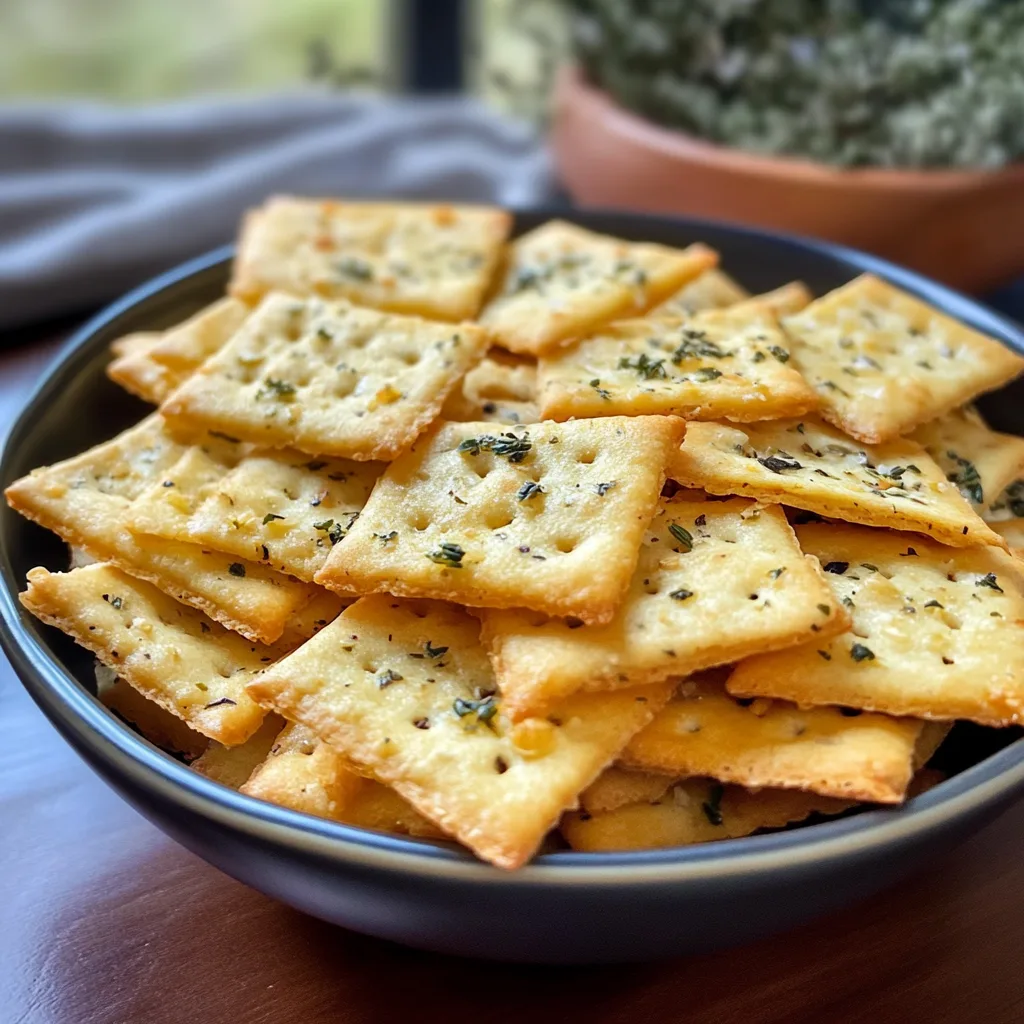
There’s something incredibly satisfying about homemade crackers that store-bought versions just can’t match. These Garlic and Herb Chickpea Flour Snack Crackers bring together the nutty goodness of chickpea flour with aromatic herbs and punchy garlic for a snack that’s both nourishing and addictive.
Perfect for afternoon snacking, party platters, or alongside your favorite dips, these crackers offer a protein boost thanks to the chickpea flour base. The best part? They’re surprisingly simple to make with ingredients you might already have in your pantry.
Why You’ll Love This
- Naturally gluten-free and vegan-friendly, making them perfect for guests with dietary restrictions
- More nutritious than store-bought crackers with added protein from chickpea flour
- Customizable with your favorite herbs and spices
- Crispy texture that holds up well to dips without breaking
- Much more economical than premium boxed crackers
Ingredients
- 1 cup chickpea flour (besan), about 120g
- ½ cup water, about 120ml
- 2 tablespoons olive oil
- 1 teaspoon dried mixed herbs (such as rosemary, thyme, oregano)
- 1 teaspoon garlic powder
- ½ teaspoon salt
- ¼ teaspoon black pepper
- Sesame seeds
- Flaky sea salt
- Additional dried herbs
- Extra olive oil for brushing
Instructions
- Preheat your oven to 350°F (175°C) with the rack positioned in the middle for even heat distribution. Line a baking sheet with parchment paper, ensuring it extends slightly beyond the edges for easier removal later.
- In a medium mixing bowl, thoroughly whisk together the chickpea flour, dried mixed herbs, garlic powder, salt, and black pepper. Break up any clumps in the chickpea flour by whisking thoroughly or sifting if necessary.
- Create a small well in the center of the dry ingredients. Pour in the olive oil and about half of the water. Begin stirring with a wooden spoon or silicone spatula, gradually adding the remaining water as you mix until a smooth, cohesive dough forms without any dry spots.
- If the mixture seems too dry, add water a teaspoon at a time. If it’s too wet, sprinkle in a little more chickpea flour. The goal is a dough that feels similar to play-dough in consistency—firm but pliable.
- Turn the dough onto a clean surface dusted with a little chickpea flour. Knead gently for about 30 seconds until smooth. The dough should be slightly tacky but not sticky enough to cling to your fingers.
- Place the dough between two sheets of parchment paper to prevent sticking. Using a rolling pin, roll the dough to approximately ⅛ inch (3mm) thickness, maintaining an even thickness throughout.
- Carefully peel off the top sheet of parchment paper. Using a pizza cutter, sharp knife, or pastry wheel, score the dough into your desired cracker shapes—squares, rectangles, or diamonds work well.
- If desired, lightly brush the surface with a little water or olive oil and sprinkle with optional toppings like sesame seeds, flaky sea salt, or additional dried herbs. Press gently to help the toppings adhere to the dough.
- Transfer the parchment paper with the scored dough onto your prepared baking sheet. Bake in the preheated oven for 15-20 minutes, beginning to check at the 12-minute mark. The crackers should develop a golden-brown color around the edges and feel firm to the touch.
- Remove the baking sheet from the oven and allow the crackers to cool completely on the sheet. They will continue to crisp up during the cooling process. For extra crispness, after the initial baking time, turn off the oven, crack the door open, and leave the crackers inside for an additional 10-15 minutes.
- Once completely cooled, break the crackers along the score lines. Store in an airtight container at room temperature for up to one week.
Tips & Variations
- For extra flavor, try adding 2 tablespoons of nutritional yeast for a cheesy taste without dairy
- If your dough is too sticky, add a bit more chickpea flour; if too dry, add water a teaspoon at a time
- Experiment with different herb combinations—za’atar, Italian seasoning, or herbes de Provence all work beautifully
- For a spicy version, add ¼ teaspoon cayenne pepper or red pepper flakes
- The thinner you roll the dough, the crispier your crackers will be
- Make the dough ahead and refrigerate for up to 24 hours before rolling and baking
Serving Suggestions
These crackers shine alongside dips like hummus, baba ganoush, or a creamy herb yogurt dip. They’re also excellent on a cheese board with soft cheeses like goat cheese or brie, which complement the savory herb flavors beautifully.
For a light lunch, serve with a Mediterranean-inspired salad or alongside a warming soup. The protein content in the chickpea flour makes these crackers more substantial than typical snack crackers.
Notes
- Crackers should be completely cool before storing to maintain crispness
- If crackers soften after storage, recrisp them in a 300°F oven for 5 minutes
- Look for golden brown edges as your doneness indicator—the centers will continue to crisp as they cool
- Chickpea flour is also called gram flour or besan in some stores
FAQs
Can I use regular all-purpose flour instead of chickpea flour?
Yes, though the flavor and nutritional profile will change. You may need to adjust the water slightly as wheat flour absorbs moisture differently than chickpea flour.
How do I know when the crackers are done baking?
The edges should be golden brown and the crackers should feel firm to the touch. They’ll continue to crisp up as they cool.
Can I make these crackers without oil?
While the oil adds flavor and helps with texture, you can reduce it to 1 tablespoon and add a bit more water, though the crackers may be less crisp.
How long will these crackers stay fresh?
When stored in an airtight container at room temperature, they’ll stay fresh for about a week. For longer storage, freeze them for up to 3 months.
[recipe_card]