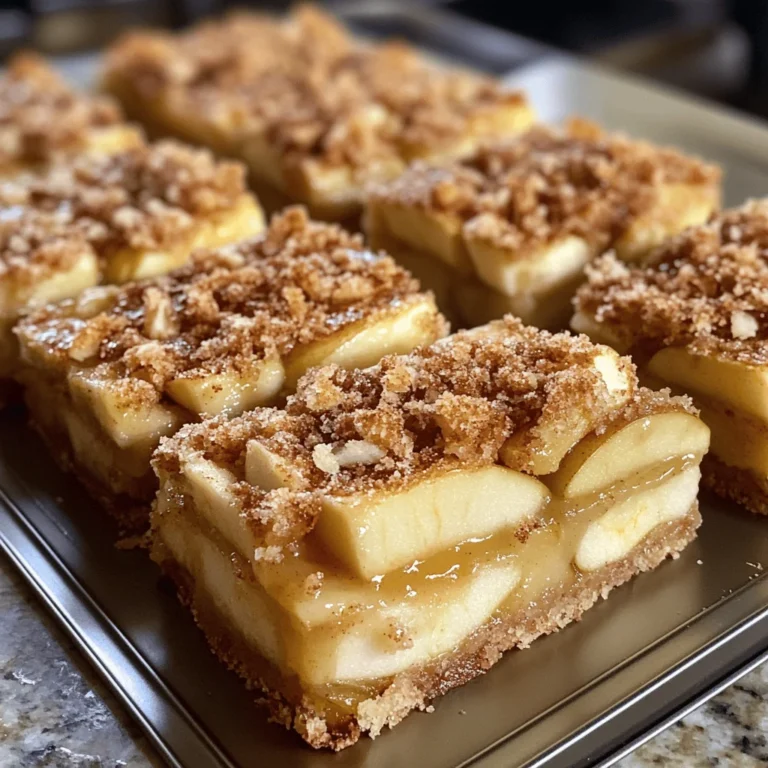
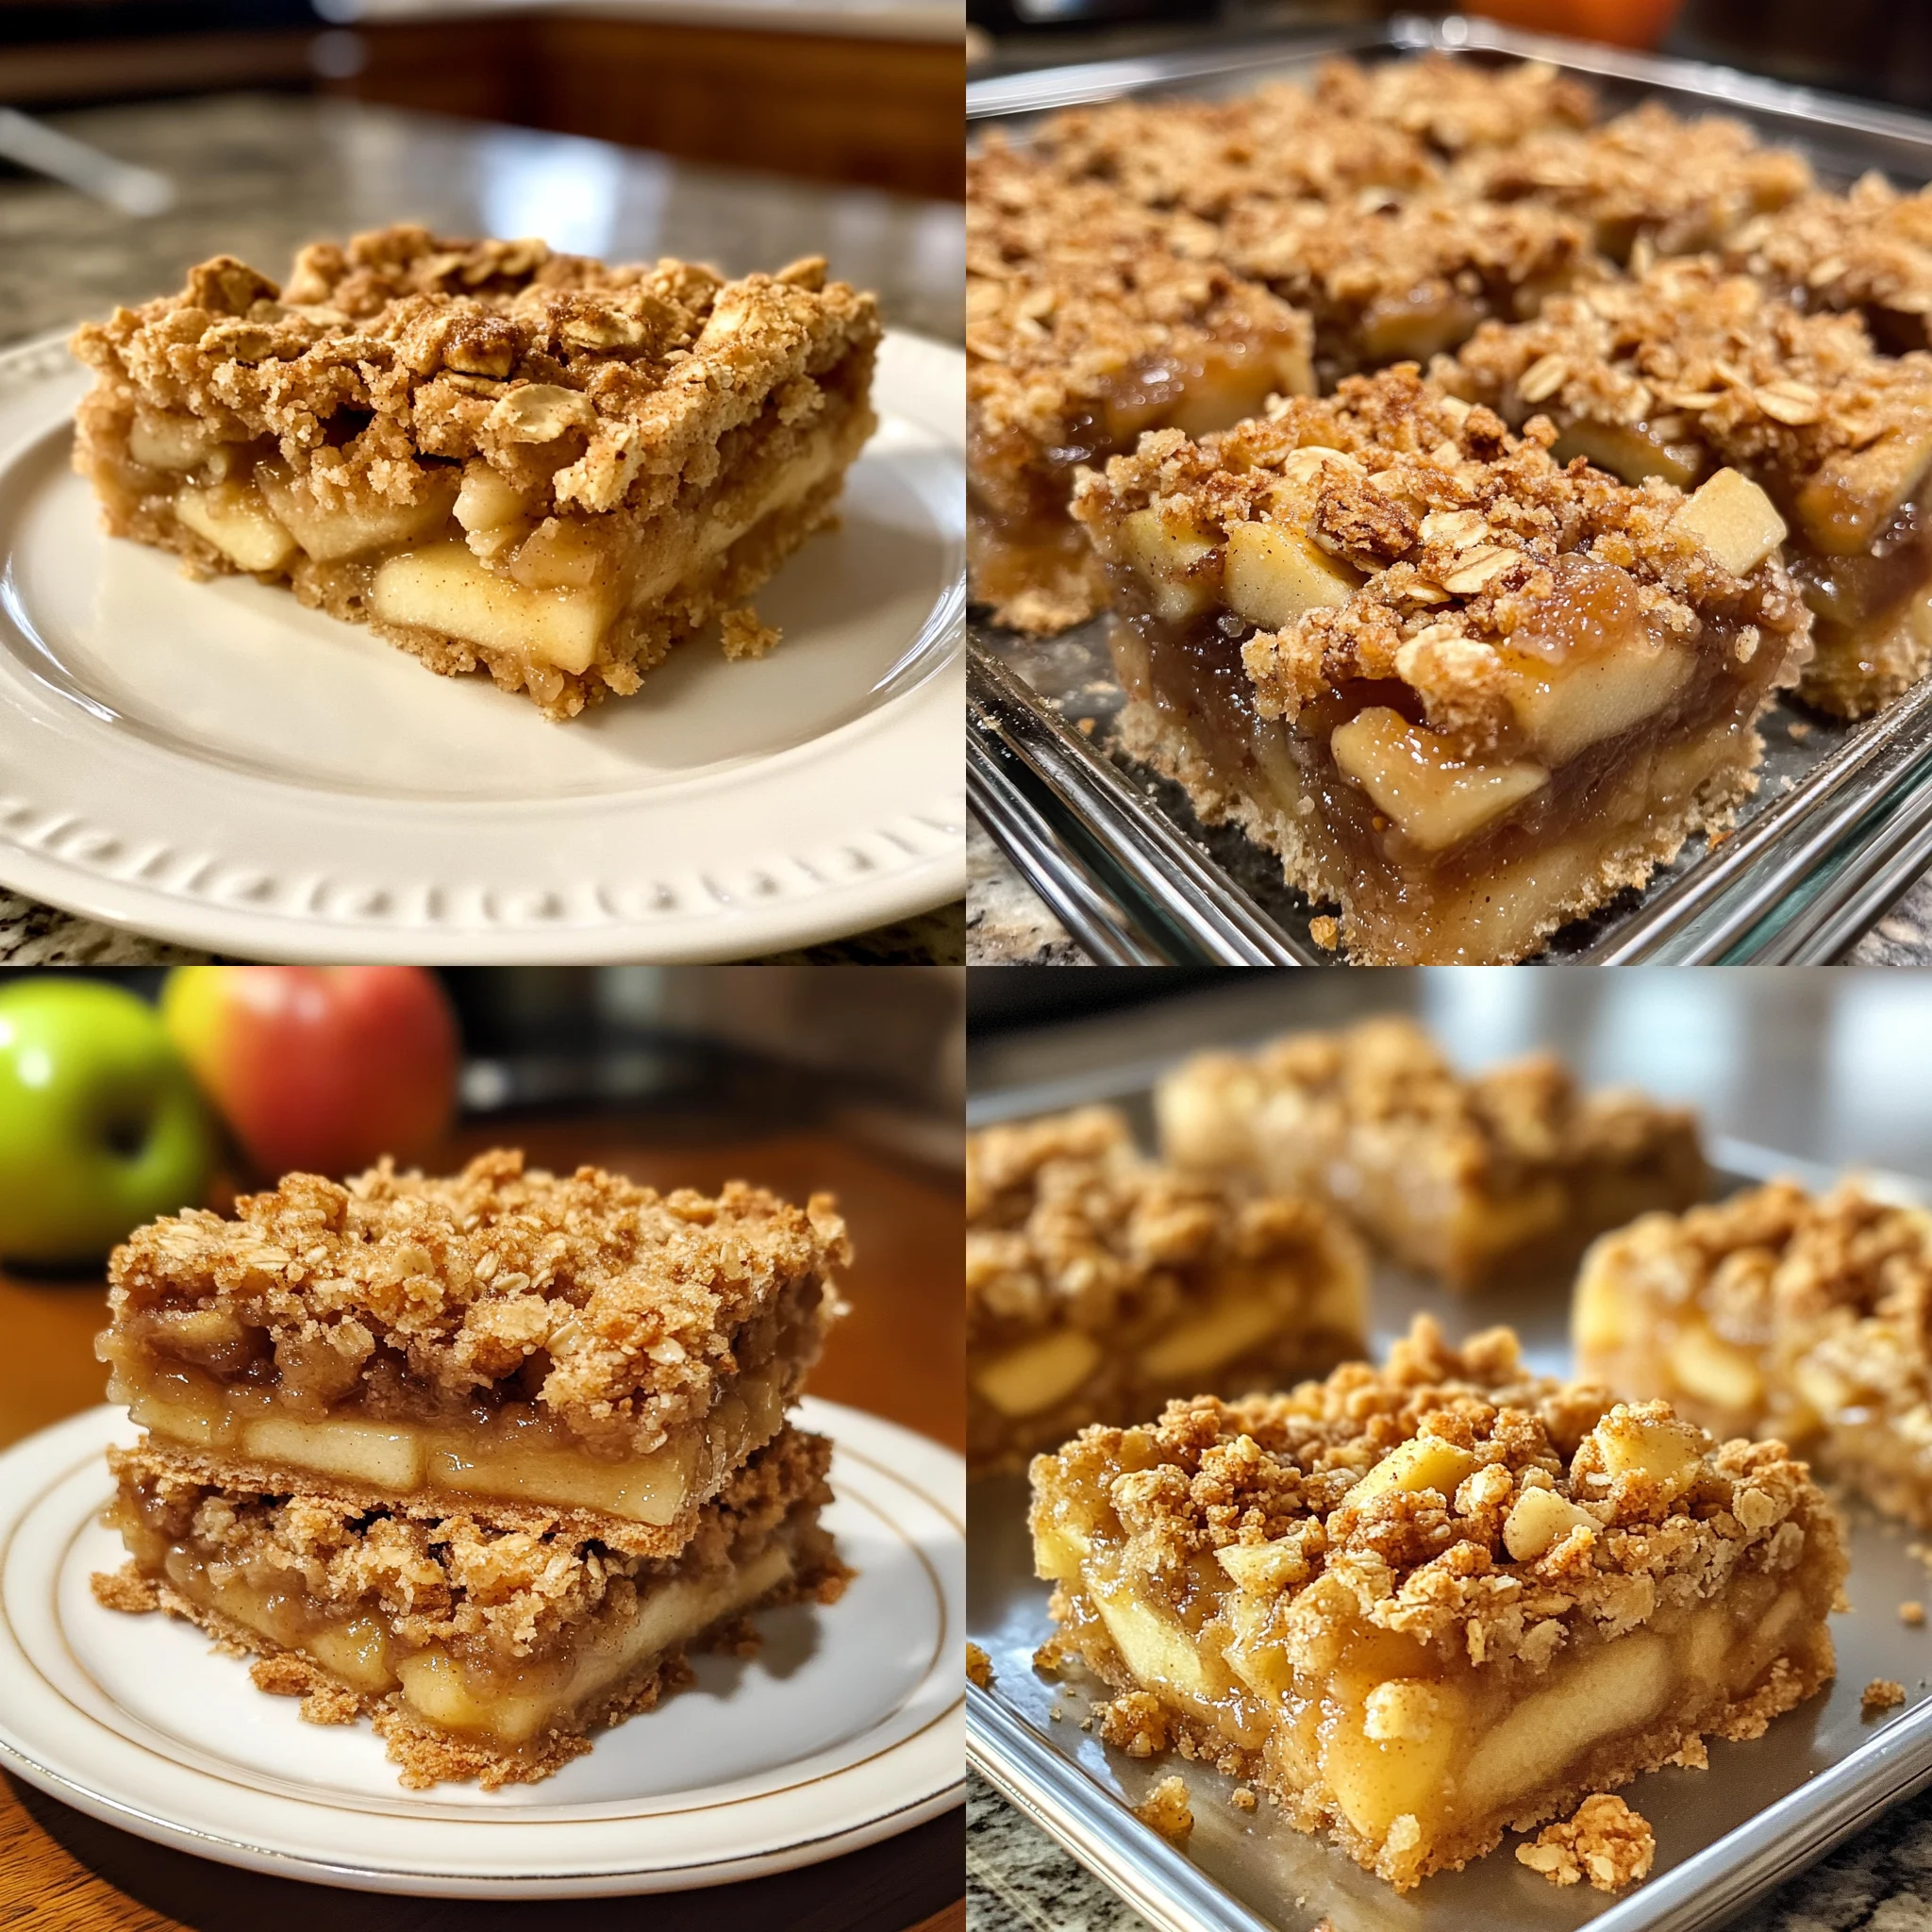
There’s something magical about the aroma of apples and cinnamon wafting through the kitchen on a cool afternoon. These Easy Apple Crisp Bars capture all the comforting flavors of traditional apple crisp but in a convenient, hand-held form that’s perfect for everything from afternoon snacks to elegant desserts.
With their buttery oat crust, tender spiced apple filling, and crumbly topping, these bars strike the perfect balance between rustic comfort food and impressive dessert. Best of all, they come together in just 45 minutes, making them an ideal choice when you’re craving something sweet without spending hours in the kitchen.
Why You’ll Love This
- Simple preparation with everyday ingredients you likely already have in your pantry
- Perfect texture contrast between the soft, jammy apple filling and crisp, buttery crumble
- Make-ahead friendly – these bars actually taste even better the next day
- Versatile dessert that works for casual family dinners or dressed up for company
- Less messy to serve and eat than traditional apple crisp, making them perfect for gatherings
Ingredients
- 2 cups old-fashioned rolled oats
- 1 ½ cups all-purpose flour
- 1 cup packed brown sugar
- ½ teaspoon salt
- ¾ cup unsalted butter, melted
- 4 medium apples, peeled and thinly sliced
- 2 tablespoons granulated sugar
- 1 tablespoon lemon juice
- 2 teaspoons ground cinnamon
- ½ teaspoon ground nutmeg
- 2 tablespoons cornstarch
Instructions
- Preheat your oven to 350°F (175°C) and line an 8×8 inch baking pan with parchment paper, leaving overhang for easy removal.
- In a large bowl, combine oats, flour, brown sugar, and salt. Pour in melted butter and stir until mixture is crumbly.
- Press about two-thirds of the oat mixture firmly into the bottom of the prepared pan to form the crust.
- In another bowl, toss sliced apples with granulated sugar, lemon juice, cinnamon, nutmeg, and cornstarch until evenly coated.
- Arrange the apple mixture evenly over the crust, then sprinkle the remaining oat mixture over the apples.
- Bake for 30-35 minutes, until the topping is golden brown and the apple filling is bubbling at the edges.
- Allow to cool completely in the pan before lifting out with the parchment paper and cutting into bars.
Tips & Variations
- For extra crunch, add ½ cup chopped walnuts or pecans to the topping mixture
- Try using a mix of apple varieties for more complex flavor – Granny Smith for tartness with Honeycrisp or Gala for sweetness
- Add ¼ teaspoon of cardamom or ginger to the apple mixture for a warming spice variation
- For a gluten-free version, substitute the all-purpose flour with a 1:1 gluten-free baking blend
- If the topping is browning too quickly, loosely cover with foil for the last 10 minutes of baking
- Make a double batch in a 9×13 pan for larger gatherings (increase baking time by about 5-10 minutes)
Serving Suggestions
Serve these apple crisp bars slightly warm with a scoop of vanilla ice cream for the ultimate comfort dessert. The cold creaminess against the warm, spiced apples creates an irresistible contrast that elevates these simple bars to something truly special.
For a more casual approach, try them with a drizzle of caramel sauce and a dollop of whipped cream, or pack them in lunchboxes for a delightful midday treat. They also pair beautifully with a hot cup of coffee or spiced chai tea on a cool afternoon.
Notes
- These bars will keep at room temperature in an airtight container for 2 days, or refrigerated for up to 5 days
- You’ll know they’re done when the filling is bubbling at the edges and the topping is golden brown
- For clean, neat cuts, refrigerate the bars for at least 2 hours before slicing
- These freeze beautifully for up to 3 months – just thaw overnight in the refrigerator
FAQs
Can I use quick oats instead of old-fashioned rolled oats?
While quick oats will work in a pinch, old-fashioned rolled oats provide better texture and don’t get as mushy in the final product.
Do I have to peel the apples?
Peeling is recommended for the best texture, but if you’re short on time, you can leave the peels on, especially if using thin-skinned apple varieties.
Can I make these ahead for a party?
Absolutely! These bars actually improve in flavor after a day, making them perfect for make-ahead desserts. Just store them in the refrigerator and bring to room temperature before serving.
Why did my filling turn out runny?
This usually happens if the bars are cut before cooling completely. The cornstarch needs time to set and thicken as the bars cool. For best results, allow them to cool completely, or even chill before cutting.
[recipe_card]