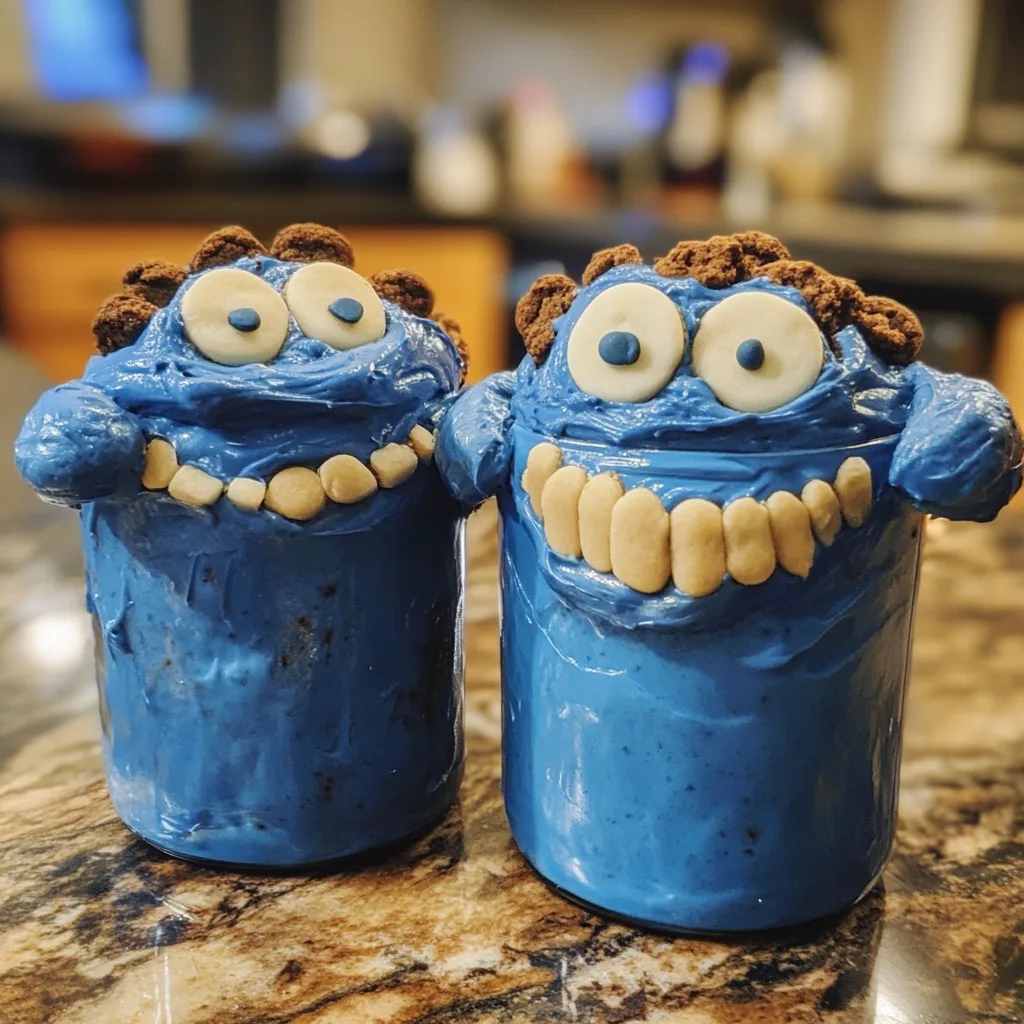
Cookie Monster Cake Jars are the perfect treat for anyone who has ever struggled to decide between cookies and cake. These adorable layered desserts capture the playful essence of everyone’s favorite blue, cookie-obsessed character while delivering incredible flavor in every spoonful. The combination of rich chocolate cake, vibrant blue frosting, and chunks of chocolate chip cookies creates a dessert that’s as fun to look at as it is to devour.
I created these delightful jars for my nephew’s birthday party, and they were such a hit that I’ve been making them regularly ever since. There’s something magical about serving individual desserts in clear jars – they showcase the beautiful layers and bring an element of whimsy to any gathering.
Why You’ll Love This
- No special baking skills required – if you can layer ingredients, you can make these!
- Perfect make-ahead dessert that actually improves with a little time in the refrigerator
- Kid-friendly presentation that adults secretly love just as much
- Customizable with your favorite cookies and cake flavors
- Individual portions eliminate the need for cutting and serving a traditional cake
Ingredients
- 15 oz box white or vanilla cake mix
- Ingredients called for on cake mix box (typically eggs, oil, and water)
- 10 Oreos, chopped (divided)
- ½ cup (1 stick) unsalted butter, room temperature
- ½ cup vegetable shortening
- 3 cups powdered sugar
- 2-3 tablespoons milk or coffee creamer
- 1 teaspoon vanilla extract
- 1 drop electric blue Americolor gel color
- 2 drops royal blue Chef Masters gel color
- 8-10 Oreos, chopped
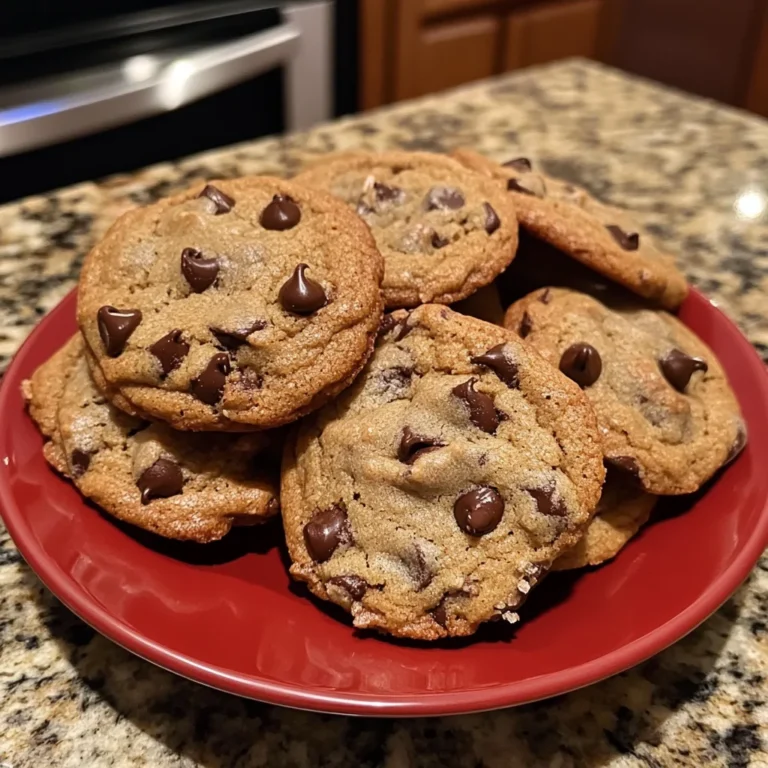
- 8-10 chocolate chip cookies, chopped
- 8 candy eyes
- 2 chocolate chip cookies, cut in half
- Blue ribbon (optional, for decorating jars)
- Glue dots (optional, for securing ribbon)
Instructions
- Follow the instructions on the cake mix box to prepare the batter. After mixing the batter, fold in about 5 chopped Oreos (half of the amount set aside for the cake).
- Pour the batter into the prepared pan(s) and bake according to the box instructions. Allow the cake to cool completely for at least 30 minutes before assembling.
- In a large mixing bowl, combine the room temperature butter and vegetable shortening. Mix until smooth and well incorporated.
- Add one cup of powdered sugar and the vanilla extract to the butter mixture. Mix until fully combined, starting with a low speed then increasing to medium speed.
- Add the remaining two cups of powdered sugar, 2 tablespoons of milk (or coffee creamer), and both gel food colorings. Mix starting on low speed and increase gradually to high. Beat for 2-3 minutes.
- Test the silkiness of the frosting with a spoon. If it’s not smooth enough, add one more tablespoon of milk, then beat on medium-high for 4-5 more minutes to create a fluffy, easy-to-pipe frosting.
- Add the blue frosting to a piping bag fitted with tip 1M or your preferred piping tip. Have your mason jars, chopped cookies, cake, and decorations ready for assembly.
- Add 1-2 scoops of crumbled cake into each mason jar. Use the back of the scoop to gently press it down to create a compact layer.
- Pipe frosting directly on top of the cake layer. Top with a sprinkle of chopped chocolate chip cookies and chopped Oreo cookies.
- Add another scoop of cake, followed by frosting, then cookies. Repeat once more if there is space in the jar. End with a decorative swirl of blue frosting on top.
- Press two candy eyeballs into the top frosting layer. Add half of a chocolate chip cookie (positioned as the mouth) below the eyes to create Cookie Monster’s face.
- For a finishing touch, wrap blue ribbon around the rim of each jar, securing it with glue dots.
Tips & Variations
- For a quicker version, use store-bought frosting tinted with blue food coloring.
- Try different cookie varieties like Oreos or peanut butter cookies for a fun twist.
- Make a “healthier” version with yogurt parfait layers and blue-tinted Greek yogurt.
- For an adults-only version, add a splash of Bailey’s or Kahlúa to the cake crumbles.
- If you don’t have piping bags, use a zip-top bag with the corner snipped off to pipe the frosting.
- Prepare up to 24 hours in advance for the flavors to meld together beautifully.
Serving Suggestions
Serve these Cookie Monster Cake Jars chilled with colorful spoons for a playful touch. They’re perfect alongside a scoop of vanilla ice cream for an extra indulgent dessert experience. For a complete themed party spread, pair with glasses of cold milk with blue paper straws.
These jars make fantastic centerpieces for a dessert table at birthday parties, baby showers, or any celebration that calls for something fun and sweet!
Notes
- Store covered in the refrigerator for up to 3 days.
- For best results, remove from refrigerator about 15 minutes before serving to allow the frosting to soften slightly.
- If making for a party, prepare all components ahead of time and assemble just before guests arrive for the freshest presentation.
- The jars should be at least 8 oz in size to accommodate all the delicious layers.
FAQs
Can I make these completely from scratch instead of using a box mix?
Absolutely! Use your favorite chocolate cake recipe instead of the box mix for a homemade touch.
How far in advance can I make these?
You can prepare all components 1-2 days ahead and assemble up to 24 hours before serving for best results.
Can I freeze these cake jars?
I don’t recommend freezing the assembled jars as the texture of the cookies will change. However, you can freeze the cake crumbles ahead of time.
What size jars work best for this recipe?
8-12 oz mason jars or clear dessert cups work perfectly, allowing enough room for multiple layers while still being an appropriate individual serving size.
[recipe_card]


