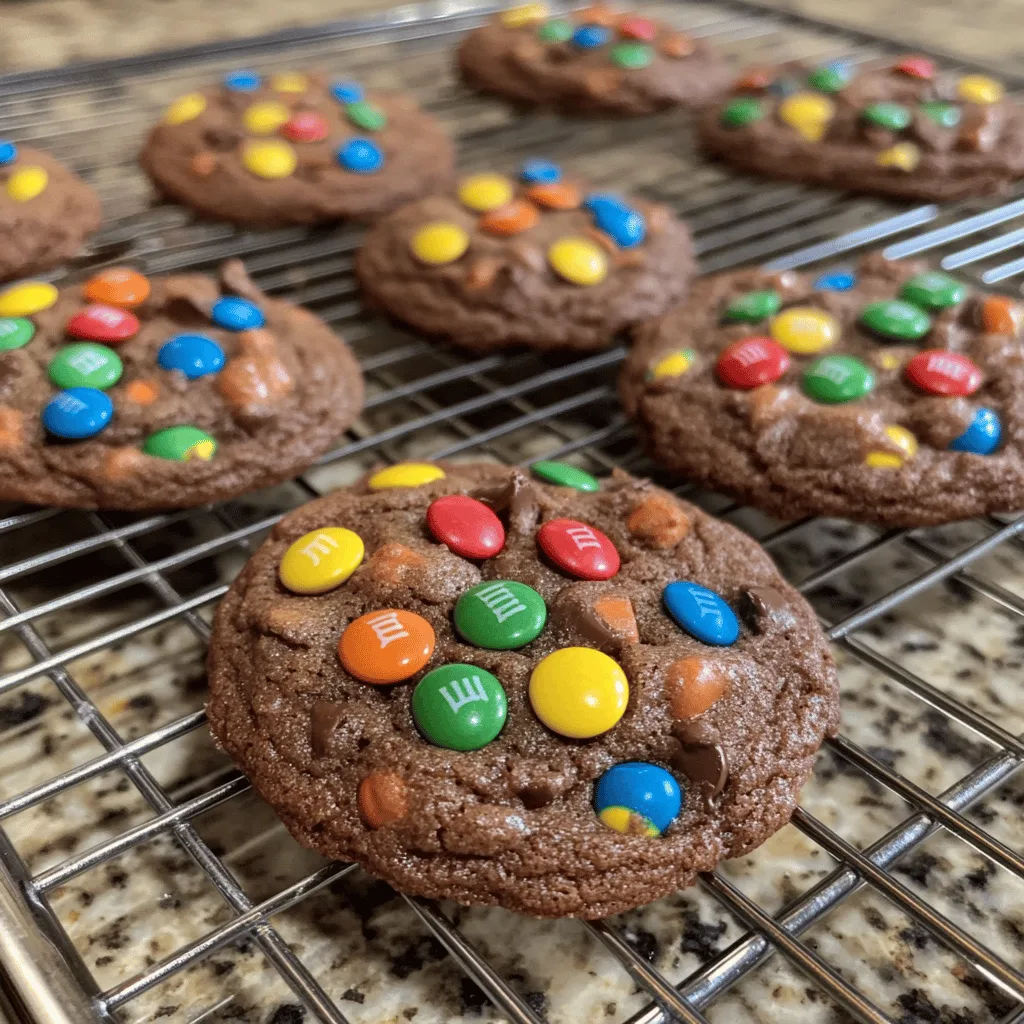
There’s something irresistibly nostalgic about homemade chocolate cookies studded with colorful M&Ms. These Chocolate M&M Cookies bring together the rich, fudgy goodness of chocolate cookie dough with the candy-coated crunch of everyone’s favorite chocolate bits. They’re the perfect balance of chewy centers and slightly crisp edges that will transport you straight back to childhood.
Whether you’re baking for a family gathering, a school event, or simply craving something sweet, these cookies deliver pure comfort in every bite. The pops of color from the M&Ms make them as visually appealing as they are delicious – a true crowd-pleaser that disappears from the cookie jar faster than you can say “chocolate”!
Why You’ll Love This
- Quick to prepare – from mixing bowl to table in under 45 minutes
- Perfect balance of chewy centers and crisp edges
- Kid-friendly recipe that’s fun to make together
- Customizable with different M&M varieties for holidays or special occasions
- Stores beautifully for days (if they last that long!)
Ingredients
- 8 tablespoons unsalted butter (113 grams), softened to room temperature
- ¼ cup white granulated sugar
- ½ cup cocoa powder (regular good quality, unsweetened)
- ½ cup brown sugar (or muscovado sugar)
- 1 teaspoon vanilla extract (or ½ teaspoon vanilla paste)
- 2 large eggs
- 1 and ½ cups all-purpose flour (can use gluten-free blend)
- 1 teaspoon baking soda
- ¼ teaspoon salt
- ¾ cup M&Ms (no peanuts)
Instructions
- Preheat the oven to 350°F.
- In a large bowl combine butter and sugars. Beat on low with an electric hand mixer or in a bowl of a stand mixer until smooth and creamy. Add egg, vanilla. Mix on low until combined. Set aside.
- In a separate large bowl, combine dry ingredients. Whisk to combine and add to wet ingredients gradually. Add ½ or 1 cup at a time, beat on low until combined, and then continue with the next batch.
- Mix until ingredients are almost combined, a few lumps here and there are fine.
- Stir in M&Ms. The batter will be thick, a little sticky and I recommend refrigerating it. Freeze for 30 minutes to 1 hour in the fridge. It is important to chill the batter between the batches too (simply for the sake of all uniform cookies).
- The batter will resemble playdough and should not be sticky after chilling. You should be able to roll small balls easily. If it is too frozen at this point, wait at room temp until it’s softened slightly. Scoop 2 tablespoonfuls of batter, rolling it into about 2 inch balls. (Should be around 13-14 cookies)
- Arrange the cookie balls on a baking sheet lined with parchment paper at least 2 inches apart. Don’t press down!
- Bake for 10-12 minutes (the time varies due to different ovens).
- The cookies will have a soft center inside. Once they cool down they will set well and the texture inside remains soft, chewy and buttery.
- Let the cookies stand in the pan for 5-10 minutes before transferring to a wire rack to cool completely.
Tips & Variations
- For holiday cookies, use seasonal colored M&Ms (red and green for Christmas, pastels for Easter, etc.)
- Add 1/2 cup chopped walnuts or pecans for extra crunch and nutty flavor
- Refrigerate the dough for 30 minutes before baking for thicker, chewier cookies
- For a double chocolate experience, use chocolate M&Ms instead of regular ones
- Make smaller cookies and sandwich vanilla ice cream between them for homemade ice cream sandwiches
- The dough freezes beautifully – roll into balls and freeze for ready-to-bake cookies anytime
Serving Suggestions
These cookies are absolutely perfect when served slightly warm with a tall glass of cold milk. The contrast between the warm, gooey chocolate and the cold milk is simply divine. For an extra special treat, serve them alongside a scoop of vanilla ice cream while they’re still warm from the oven.
For a fun dessert table, pair these with other cookie varieties like classic chocolate chip or snickerdoodles to give your guests options that complement each other beautifully.
Notes
- Store in an airtight container at room temperature for up to 5 days
- Cookies are done when edges are set but centers still look slightly underbaked – they’ll continue cooking as they cool
- For best results, rotate baking sheets halfway through baking time
- Dough can be frozen for up to 3 months in an airtight container
FAQs
Can I use natural cocoa powder instead of Dutch-processed?
Yes! Either type works well in this recipe, though Dutch-processed will give a slightly deeper chocolate flavor.
Why did my cookies spread too much?
Your butter might have been too warm. Try chilling the dough for 30 minutes before baking or check that your oven temperature is accurate.
Can I make these cookies gluten-free?
Absolutely! Substitute the all-purpose flour with a 1:1 gluten-free baking flour blend for similar results.
How do I know when the cookies are done baking?
The edges should be set but the centers will look slightly underdone. They’ll continue to firm up as they cool on the baking sheet.
[recipe_card]