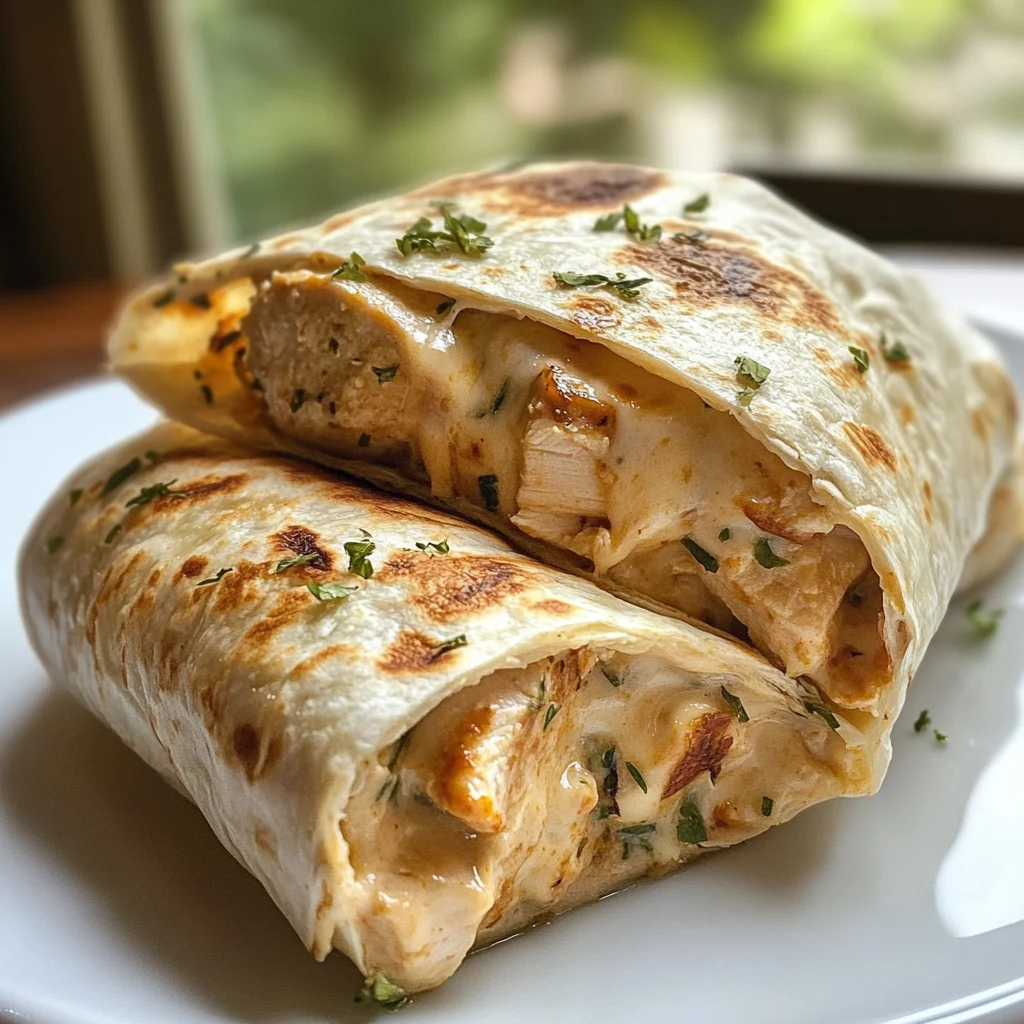
These Cheesy Garlic Chicken Wraps are the perfect solution for those busy weeknights when you want something satisfying without spending hours in the kitchen. Tender chicken, gooey cheese, and a punch of garlic flavor all wrapped in a warm tortilla – it’s comfort food that comes together in just 45 minutes!
I created this recipe after a particularly hectic day when I needed to feed my family something delicious that wouldn’t require a trip to the grocery store. Using ingredients I already had on hand, these wraps quickly became a household favorite that everyone requests regularly.
Why You’ll Love This
- Quick and easy – perfect for weeknight dinners when time is limited
- Customizable with whatever veggies or cheese you have in your fridge
- Kid-friendly but sophisticated enough for adults too
- Great for meal prep – make the filling ahead and assemble when ready
- Portable option for lunches or eating on-the-go
Ingredients
- 2 cups cooked chicken breast, shredded or diced
- ½ cup creamy garlic aioli
- 1 cup sharp cheddar cheese, freshly shredded
- 4 large flour tortillas
- Salt to taste
- Freshly ground black pepper
Instructions
- In a medium bowl, combine the shredded chicken with the garlic aioli, mixing until the chicken is well coated. Season with salt and pepper to your liking.
- Gently warm your tortillas in the microwave for 15-20 seconds or in a dry skillet for a few seconds on each side to make them more pliable.
- Lay each tortilla flat and spoon about ½ cup of the chicken mixture down the center, leaving space at the edges. Sprinkle ¼ cup of shredded cheddar over the chicken.
- Fold the bottom edge of the tortilla up over the filling, then fold in both sides and roll tightly from bottom to top, keeping the filling tucked in.
- Heat a large skillet or griddle over medium heat. You don't need oil since the tortillas will crisp up nicely on their own.
- Place the wraps seam-side down in the heated skillet. Cook for 2-3 minutes until golden brown, then flip and cook another 2-3 minutes on the other side.
- The wraps are done when both sides are golden brown and you can see the cheese has melted inside. The tortilla should be crispy on the outside.
- Let the wraps cool for just a minute, then slice each one diagonally in half. Serve immediately while the cheese is still melty and the outside is crisp.
Tips & Variations
- For a spicy kick, add 1/4 teaspoon of red pepper flakes to the chicken mixture
- Swap mozzarella for pepper jack or cheddar cheese for a different flavor profile
- Add spinach or kale for extra nutrients – just stir them in during the last minute of cooking the filling
- Make it low-carb by using lettuce wraps instead of tortillas
- Prep the chicken mixture up to 2 days ahead and store in the refrigerator for even quicker assembly
- For extra crispy wraps, cook them in a panini press instead of baking
Serving Suggestions
These Cheesy Garlic Chicken Wraps pair perfectly with a simple green salad dressed with lemon vinaigrette for a complete meal. For a heartier option, serve alongside some sweet potato fries or a cup of tomato soup for dipping.
Don’t forget the dipping sauces! Ranch dressing, marinara sauce, or even a quick avocado crema made from mashed avocado, sour cream, and lime juice make excellent companions to these flavorful wraps.
Notes
- Store leftovers in an airtight container in the refrigerator for up to 3 days
- To reheat, place in a 350°F oven for 10 minutes or microwave for 1-2 minutes
- The chicken is done when it reaches an internal temperature of 165°F and shows no pink inside
- For meal prep, wrap individually in foil before refrigerating for easy grab-and-go lunches
FAQs
Can I use rotisserie chicken instead of cooking raw chicken?
Absolutely! About 2 cups of shredded rotisserie chicken works perfectly and saves even more time.
How do I prevent my wraps from getting soggy?
Make sure to let the filling cool slightly before assembling, and don’t overfill the tortillas. Baking them seam-side down helps seal them and keeps them crisp.
Can I freeze these wraps?
Yes! Wrap each assembled (but unbaked) wrap tightly in plastic wrap, then foil, and freeze for up to 1 month. Thaw in the refrigerator overnight before baking.
What’s the best type of tortilla to use?
Large (10-inch) flour tortillas work best as they’re easier to fold and hold more filling. For a healthier option, whole wheat tortillas work great too.
[recipe_card]