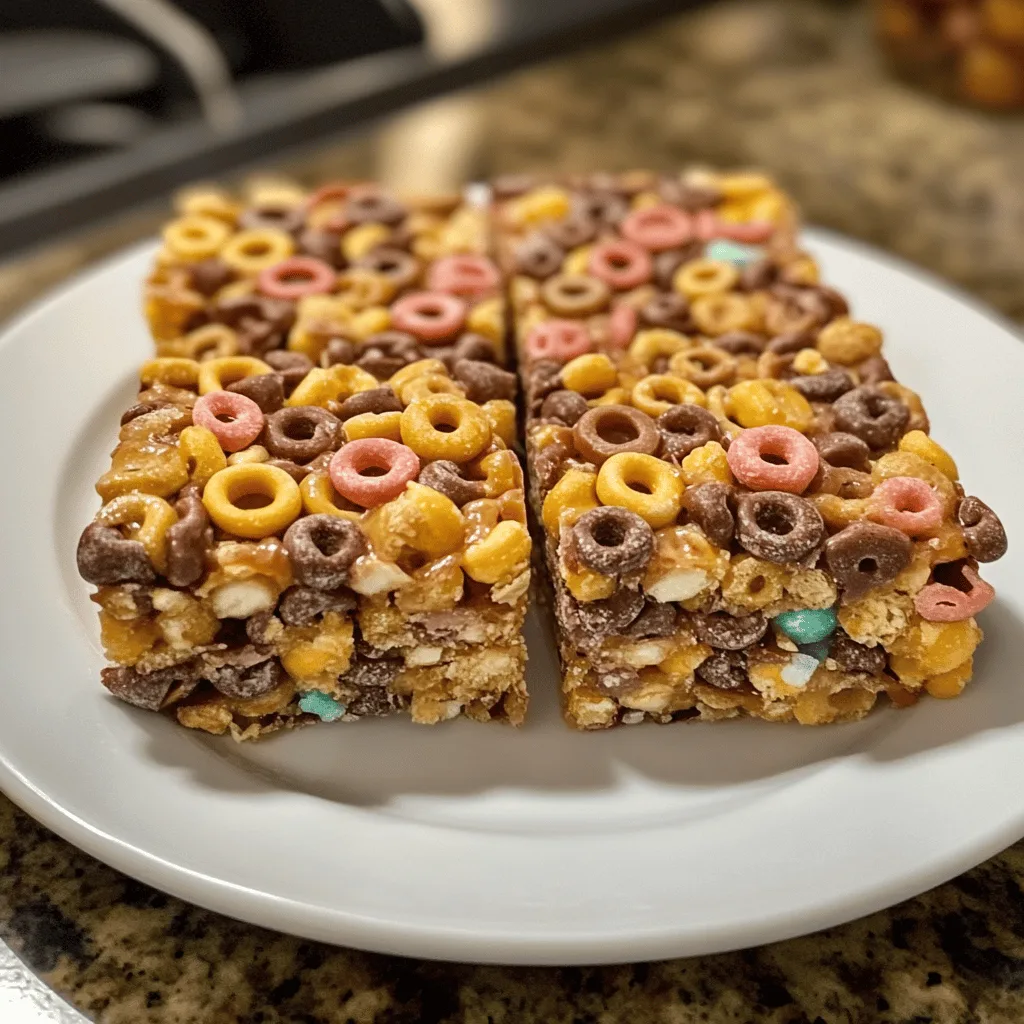
There’s something irresistibly nostalgic about homemade cereal bars. They take me back to childhood lunchboxes and after-school snacks, but with a delicious grown-up twist when you make them yourself. These chewy, sweet treats combine the comfort of your favorite breakfast cereal with gooey marshmallow and butter for a portable snack that satisfies cravings any time of day.
What makes these cereal bars special is their versatility and simplicity. With just a handful of ingredients and about 45 minutes of your time, you can create a batch of treats that will disappear faster than you can say “breakfast for dessert.” The best part? You control the ingredients, making these a more wholesome alternative to store-bought versions.
Why You’ll Love This
- No baking required! These are completely no-bake, perfect for hot summer days or when you don’t want to turn on the oven.
- Customizable with whatever cereal you have on hand—from Fruity Pebbles to Cheerios to Cocoa Krispies.
- Kid-friendly recipe that little ones can help make (with supervision for the stovetop portion).
- Make ahead friendly—prepare a batch on Sunday for treats all week long.
- Portable and perfect for lunchboxes, road trips, or quick breakfast on the go.
Ingredients
- 3 cups cereal of choice
- 2/3 cup peanut butter or nut butter of choice
- 1/2 cup agave, honey, or brown rice syrup
- 1/2 tsp salt (optional)
- 3 tbsp protein powder (optional)
Instructions
- Line an 8-inch square pan with wax or parchment paper. If making a larger batch, you can double the recipe and use a 9×13-inch pan.
- If needed, gently warm the nut butter until it’s easily stirrable. This will help it mix more evenly with the other ingredients.
- In a large bowl, stir together the cereal, nut butter, sweetener of choice (agave, honey, or brown rice syrup), salt (if using), and protein powder (if using) until well combined.
- Pour the cereal mixture into the lined pan. Place a second sheet of parchment paper over the top, and press the cereal down very firmly into the pan. This firm pressure is important as it helps keep the cereal bars from falling apart after cutting.
- Place the pan in the freezer for about 30 minutes, or until the mixture is firm enough to slice into bars.
- Once firm, remove from the pan using the parchment paper overhang and cut into 9 equal bars. Store leftovers in the refrigerator, freezer, or in a cool, dry place on the counter in an airtight container.
Tips & Variations
- For softer, chewier bars, use a bit less cereal or add a tablespoon of honey to the marshmallow mixture.
- Create layers of different cereals for a rainbow effect—just press each layer firmly before adding the next.
- For a more indulgent treat, drizzle melted chocolate or peanut butter over the top before cutting.
- Add a pinch of cinnamon, nutmeg, or even a tablespoon of cocoa powder to the marshmallow mixture for extra flavor.
- If your bars seem too hard, you likely overcooked the marshmallow mixture. Keep the heat low and remove from heat as soon as everything is melted.
- For a healthier version, use a whole grain cereal and reduce the marshmallows by replacing some with natural nut butter.
Serving Suggestions
These cereal bars are perfect on their own as a grab-and-go snack, but they can be elevated with a few simple pairings. Serve alongside fresh fruit for a more complete after-school snack, or with a glass of cold milk for the classic cereal experience without the bowl and spoon.
For a dessert twist, warm a bar slightly and top with a small scoop of vanilla ice cream. The contrast between the cold ice cream and the chewy, room-temperature bar creates a delightful texture experience that transforms this simple treat into a proper dessert.
Notes
- Store in an airtight container at room temperature for up to 3 days, with parchment paper between layers to prevent sticking.
- For longer storage, wrap individual bars in plastic wrap and freeze for up to 3 months. Thaw at room temperature before enjoying.
- If cutting is difficult, lightly spray your knife with cooking spray between cuts for cleaner slices.
- These bars are at their best texture on the first day but remain delicious throughout their shelf life.
FAQs
Can I use mini marshmallows instead of regular sized ones?
Yes! Mini marshmallows will actually melt faster and more evenly. Use the same weight (10 oz) for equivalent results.
Why did my cereal bars turn out too hard?
Hard bars usually result from overcooking the marshmallow mixture or pressing the mixture too firmly into the pan. Keep heat low when melting marshmallows and use gentle pressure when forming the bars.
Can I make these vegan?
Absolutely! Use vegan butter and vegan marshmallows (available at many health food stores), and ensure your cereal choice is vegan-friendly.
How do I prevent the bars from sticking to my hands when pressing them into the pan?
Lightly wet or grease your hands with a neutral oil or butter before pressing the mixture. Alternatively, use a piece of parchment paper or plastic wrap as a barrier between your hands and the sticky mixture.
[recipe_card]