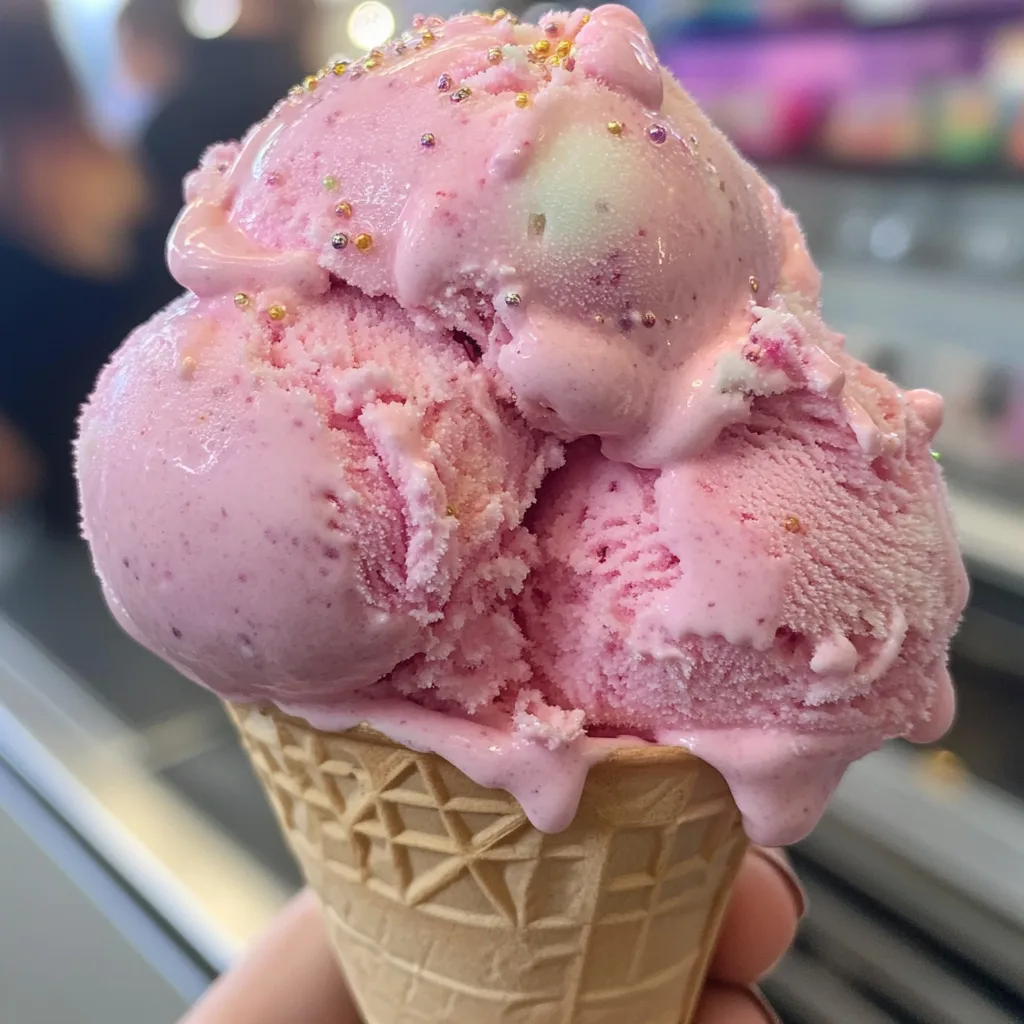
Bubblegum ice cream brings a burst of childhood nostalgia in every spoonful. This vibrant, playful dessert combines the whimsical flavor of bubblegum with the creamy richness of homemade ice cream, creating a treat that’s sure to bring smiles to faces young and old alike.
While you might think recreating this carnival classic requires special equipment or hard-to-find ingredients, my simple recipe makes it accessible for home cooks. The striking blue color and distinctive sweet flavor transport you straight back to carefree summer days, making this the perfect dessert for birthday parties or whenever you need a dose of pure joy.
Why You’ll Love This
- No ice cream maker required – this recipe uses a simple no-churn method
- Vibrant color and playful flavor that kids and adults will adore
- Customizable with mix-ins like mini marshmallows or actual bubblegum pieces
- Perfect make-ahead dessert that stores beautifully in the freezer
- Simpler and more economical than store-bought specialty ice creams
Ingredients
- 2 cups heavy cream
- 1 cup whole milk
- ¾ cup granulated sugar
- 2 teaspoons bubblegum flavoring
- 1 teaspoon vanilla extract
- ¼ teaspoon kosher salt
- Pink or red food coloring (to taste)
- ½ cup confetti sprinkles, divided
- 1 cup gumballs (for decoration)
Instructions
- Place your ice cream maker bowl in the freezer for at least 24 hours before making the ice cream. This ensures proper freezing during the churning process.
- In a large mixing bowl, combine the heavy cream, whole milk, granulated sugar, bubblegum flavoring, vanilla extract, and kosher salt. Whisk for 2-3 minutes until the sugar is completely dissolved.
- Add pink or red food coloring to the mixture a few drops at a time, stirring after each addition, until you achieve your desired shade of pink. Remember that the color will lighten slightly once frozen.
- For best results, cover the bowl and refrigerate the mixture for at least 1 hour or up to overnight. This step is optional but helps develop the flavors and improves the texture.
- Pour the chilled mixture into your ice cream maker and churn according to the manufacturer’s instructions, usually about 20-25 minutes or until the ice cream reaches a soft-serve consistency.
- During the last 2 minutes of churning, add most of the confetti sprinkles (reserve about 1 tablespoon for topping), allowing them to mix evenly throughout the ice cream.
- Transfer the churned ice cream to a shallow container or loaf pan. Smooth the top with a spatula and sprinkle the reserved confetti sprinkles on top.
- Cover the container with plastic wrap, pressing it directly onto the surface of the ice cream to prevent ice crystals from forming. Freeze for at least 4 hours or until firm.
- Let the ice cream sit at room temperature for about 5 minutes before scooping. Serve with colorful gumballs on top for a fun, decorative touch. The gumballs can be removed before eating or enjoyed separately.
Tips & Variations
- For a more intense color, add a few more drops of blue food coloring, or mix blue and pink for a cotton candy effect.
- If you can’t find bubblegum flavoring, try using cotton candy or bubble gum-flavored syrup instead.
- For a fun twist, swirl in some strawberry sauce to create a marbled effect.
- Make sure all your ingredients and tools are very cold for the best whipped cream texture.
- Line your container with parchment paper for easier removal and cleaning.
- For a dairy-free version, substitute coconut cream for heavy cream and dairy-free condensed milk.
Serving Suggestions
Serve this playful ice cream in colorful cones topped with rainbow sprinkles for the ultimate nostalgic treat. For an over-the-top dessert experience, create a bubblegum sundae with whipped cream, cherry syrup, and a few pieces of actual bubblegum on the side (not to be swallowed).
This ice cream also pairs wonderfully with simple vanilla cookies or between two sugar cookies for a unique ice cream sandwich that will be the hit of any summer gathering.
Notes
- Store in an airtight container in the freezer for up to 2 weeks.
- If the ice cream becomes too hard, let it sit at room temperature for 5-10 minutes before scooping.
- Natural food coloring can be substituted but may produce a less vibrant blue color.
- If including actual bubblegum pieces, remind children to remove them before swallowing.
FAQs
Can I make this without food coloring?
Yes, the food coloring is purely for visual appeal. Without it, your ice cream will taste the same but will be white or cream-colored.
How long does homemade bubblegum ice cream last?
When stored properly in an airtight container, this ice cream will maintain its best quality for about 2 weeks in the freezer.
Can I use an ice cream maker with this recipe?
Absolutely! If you have an ice cream maker, you can churn the mixture according to your machine’s instructions instead of the no-churn freezing method.
Where can I find bubblegum flavoring?
Bubblegum flavoring can be found in specialty baking stores, craft stores with baking sections, or online retailers. Look for food-grade flavoring oils or extracts.
[recipe_card]


